Restored NYC living room after water damage repair
Transformations · Helping NYC Families

From disaster to dinner-at-home.

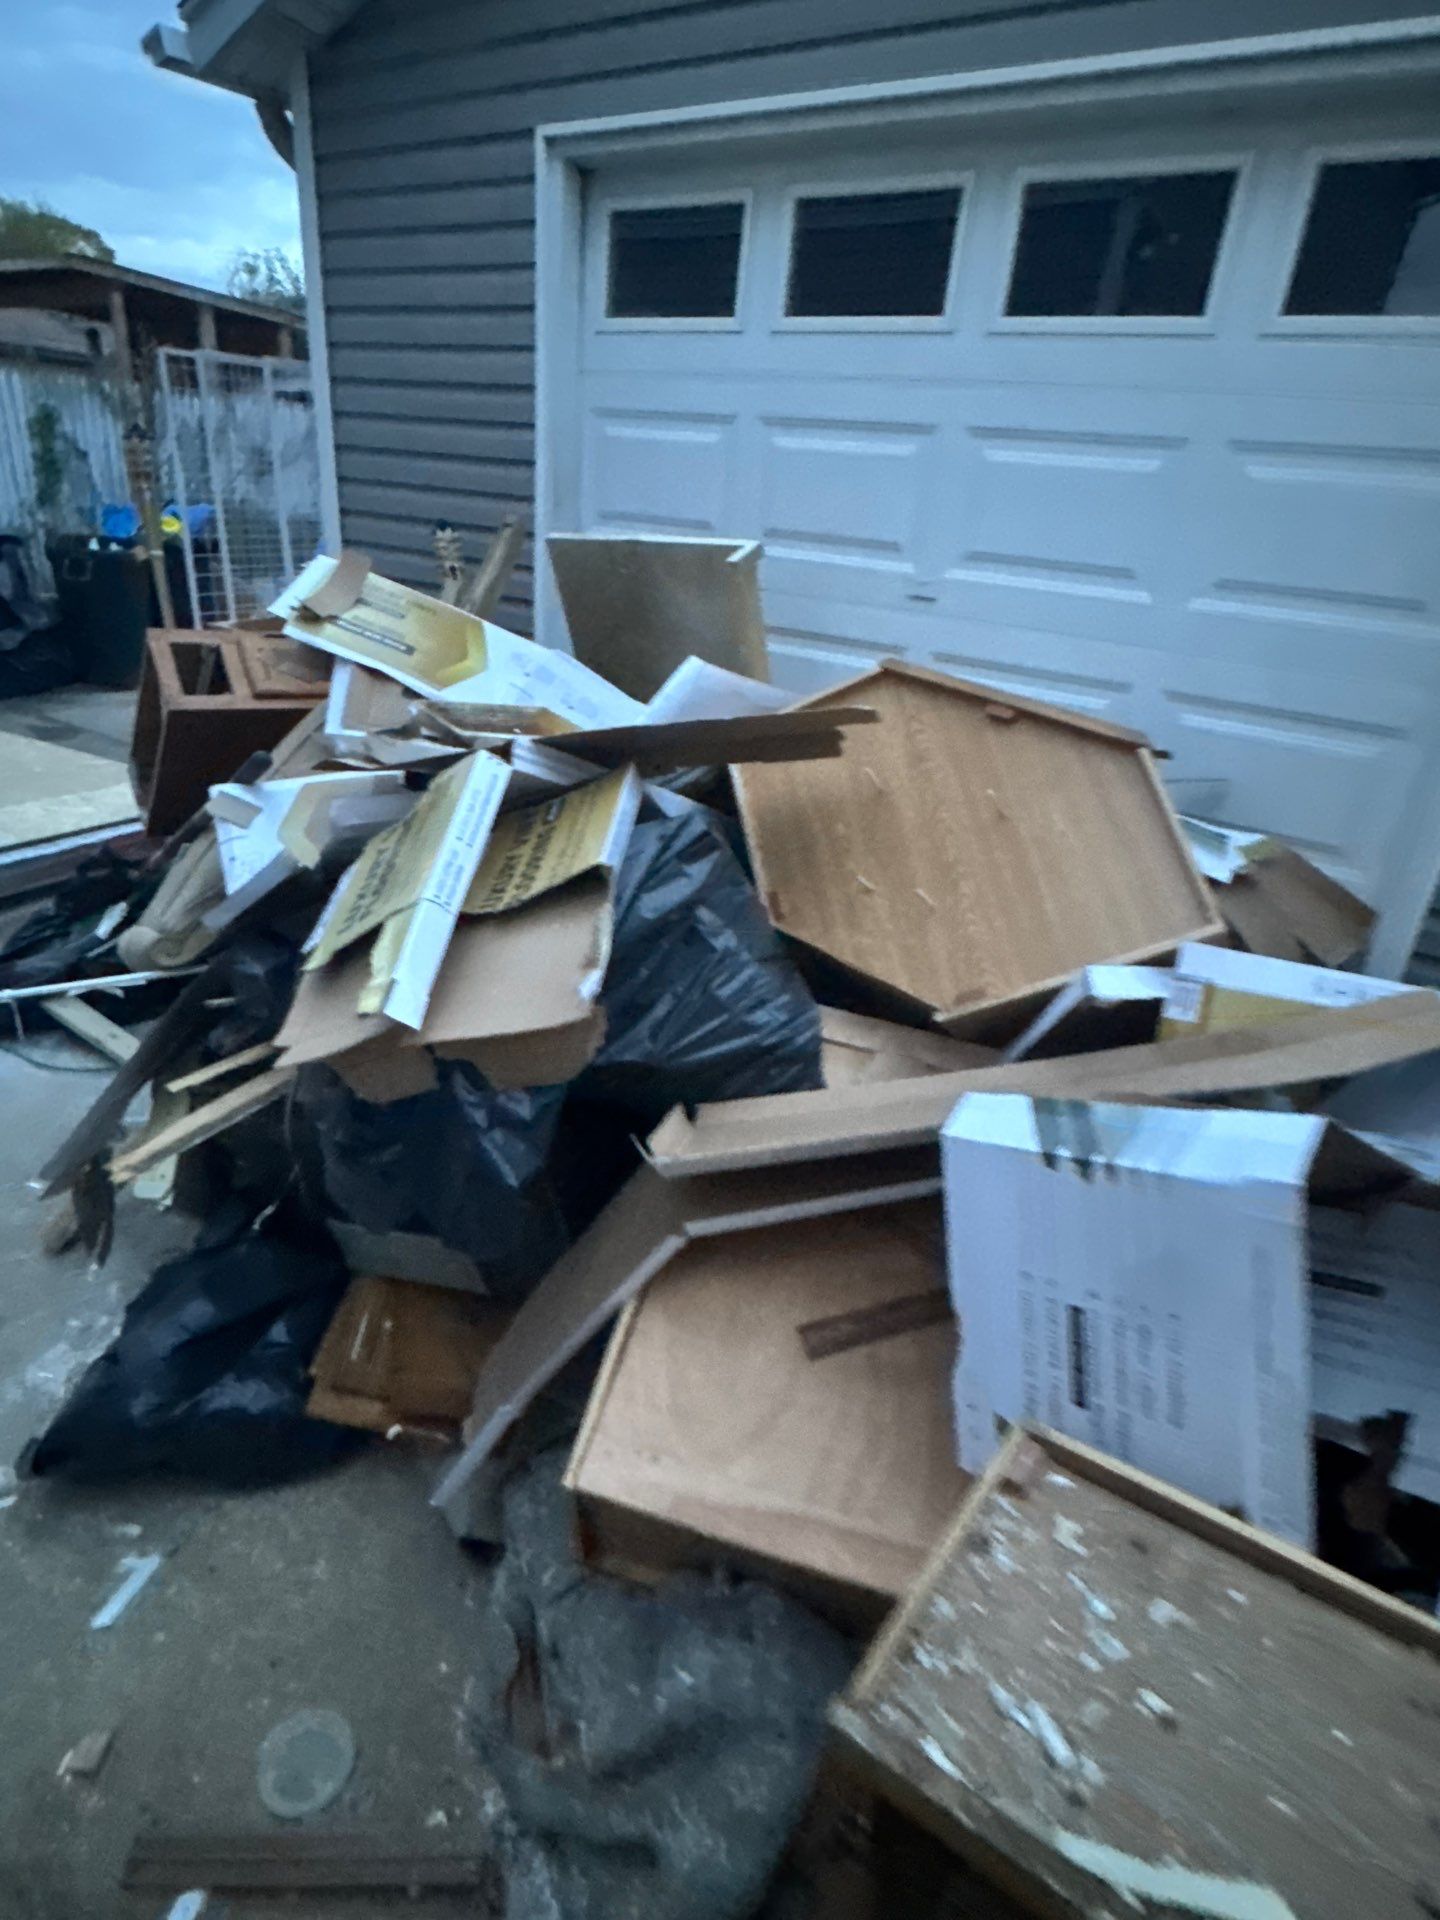
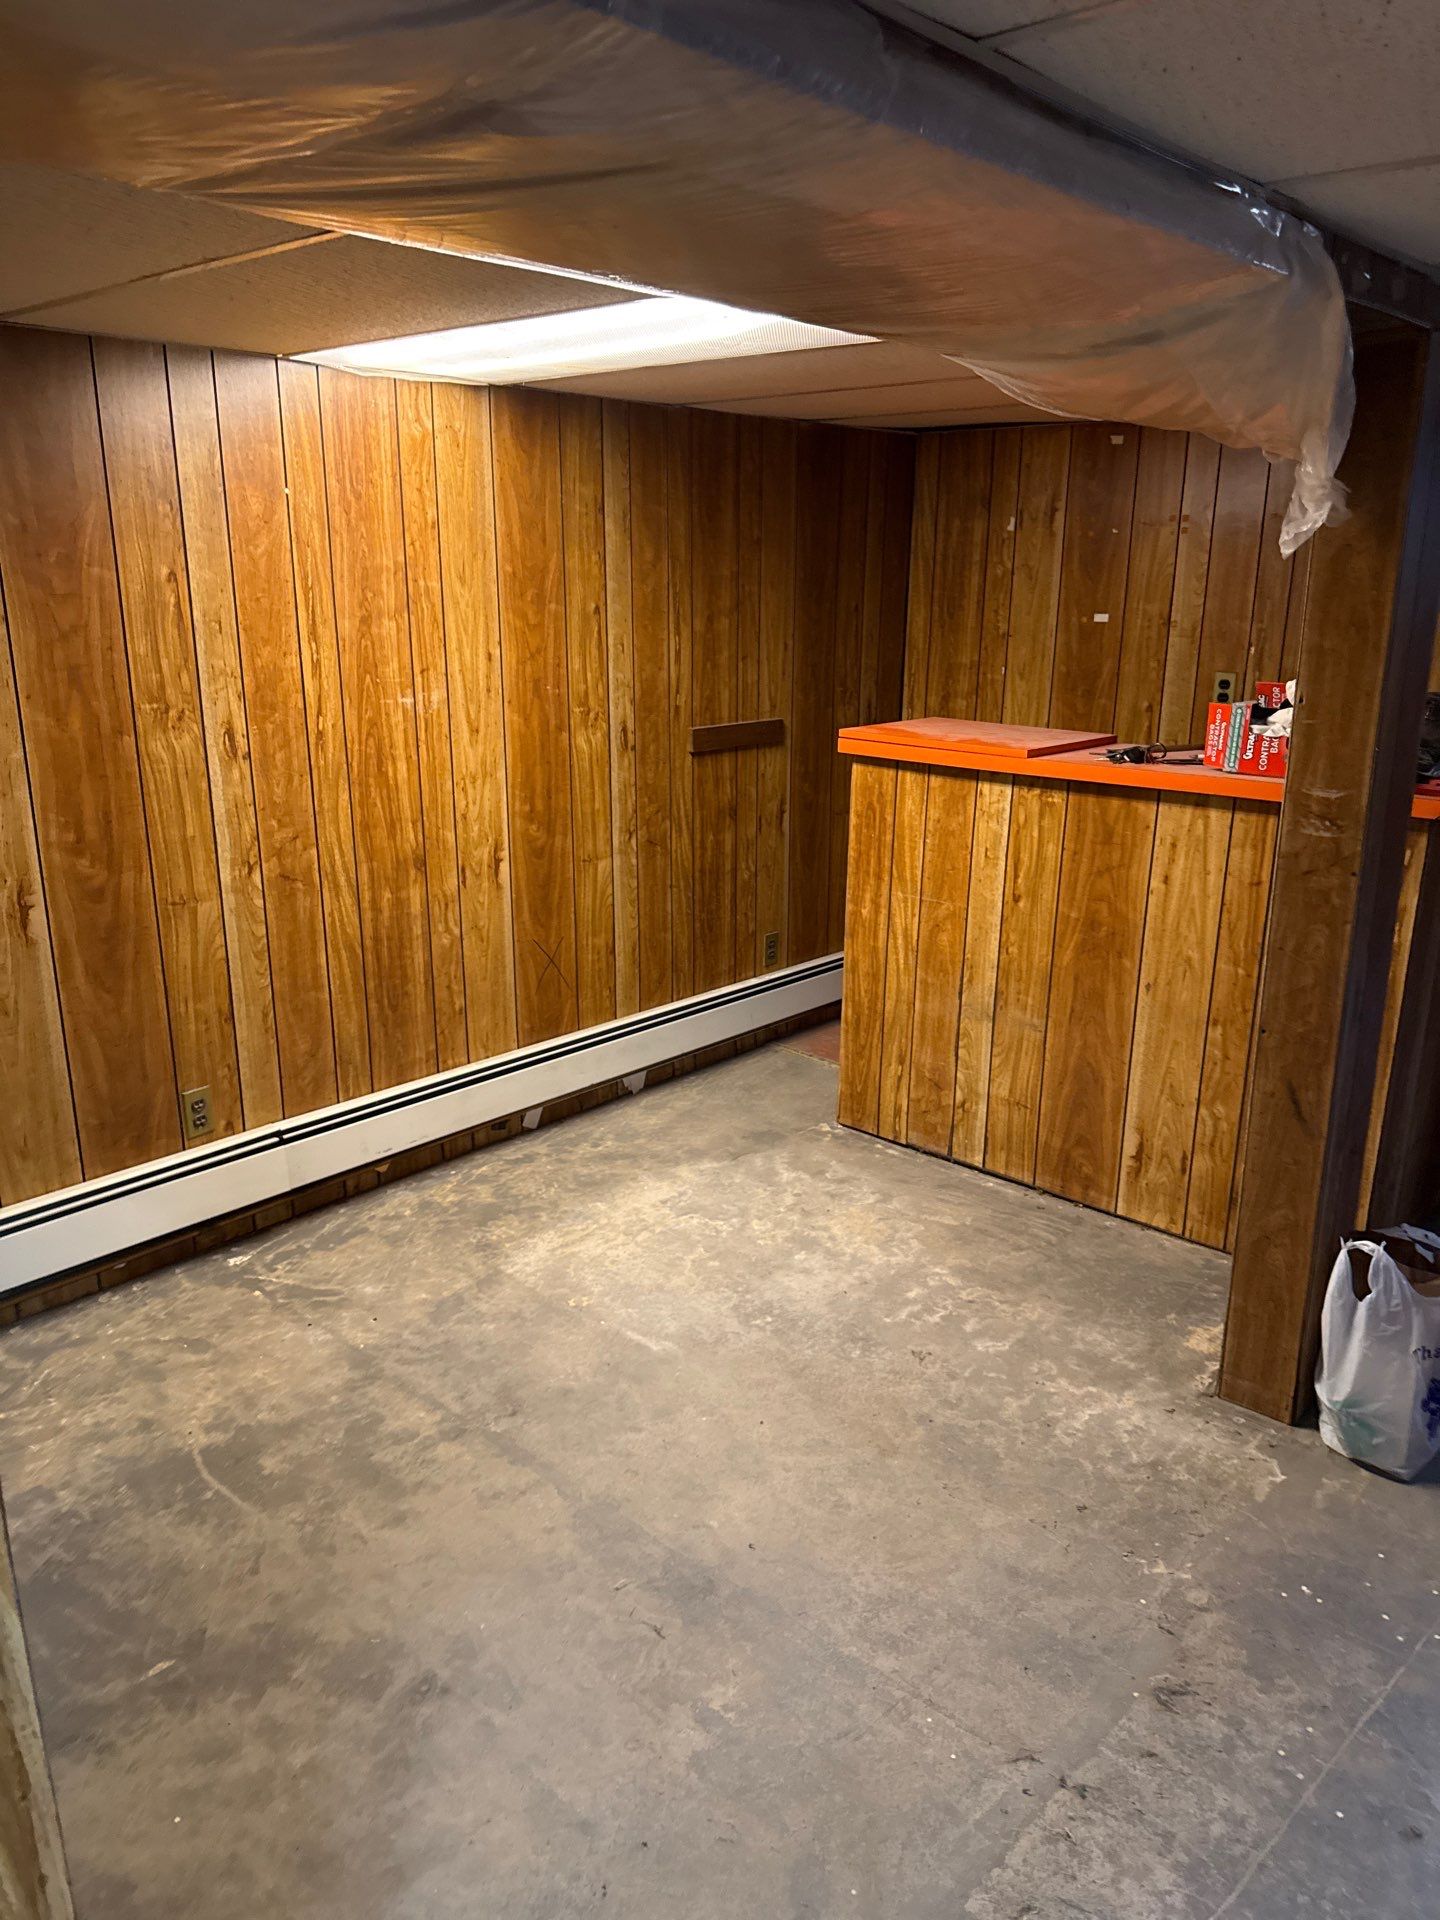
Every home on this page belongs to a family that called us on the worst day of their week. These are the real before, during and after photos — and the stories behind them.

Helping Families

More than a job. It's someone's home.

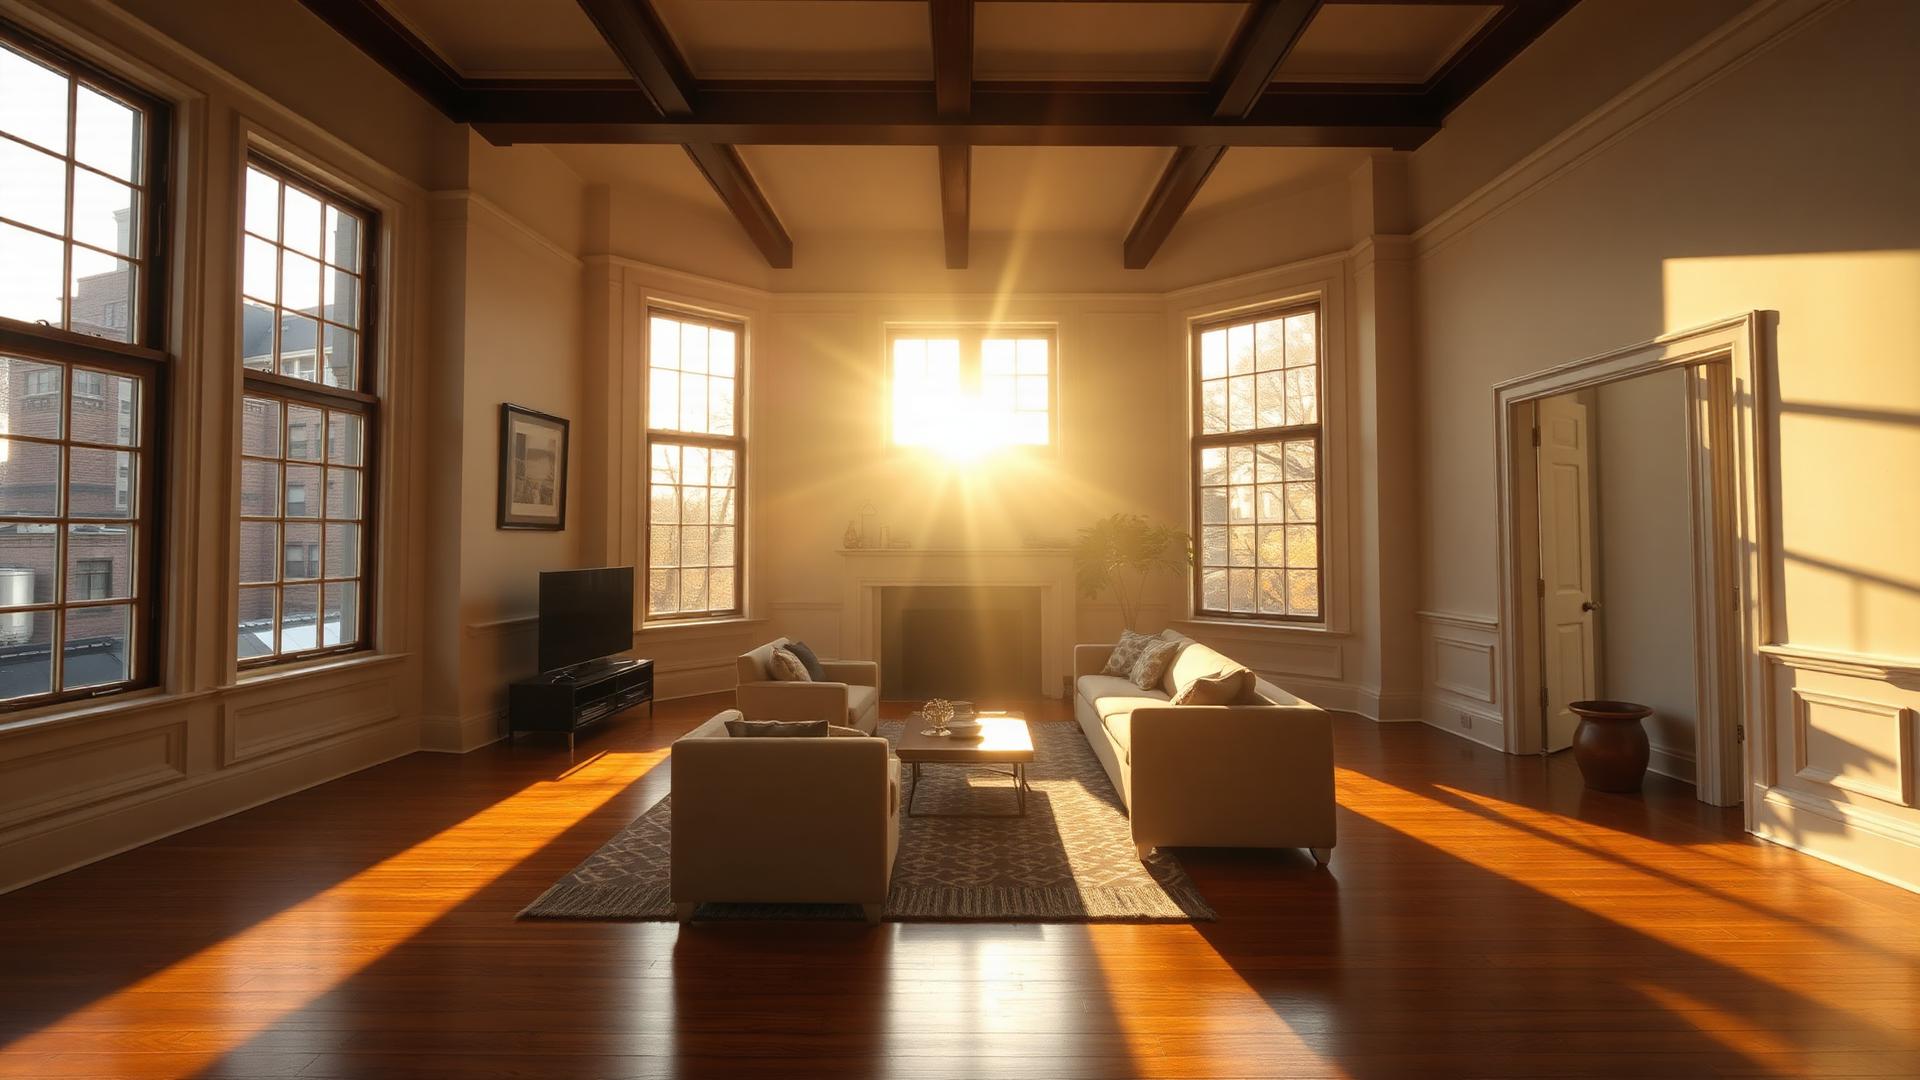
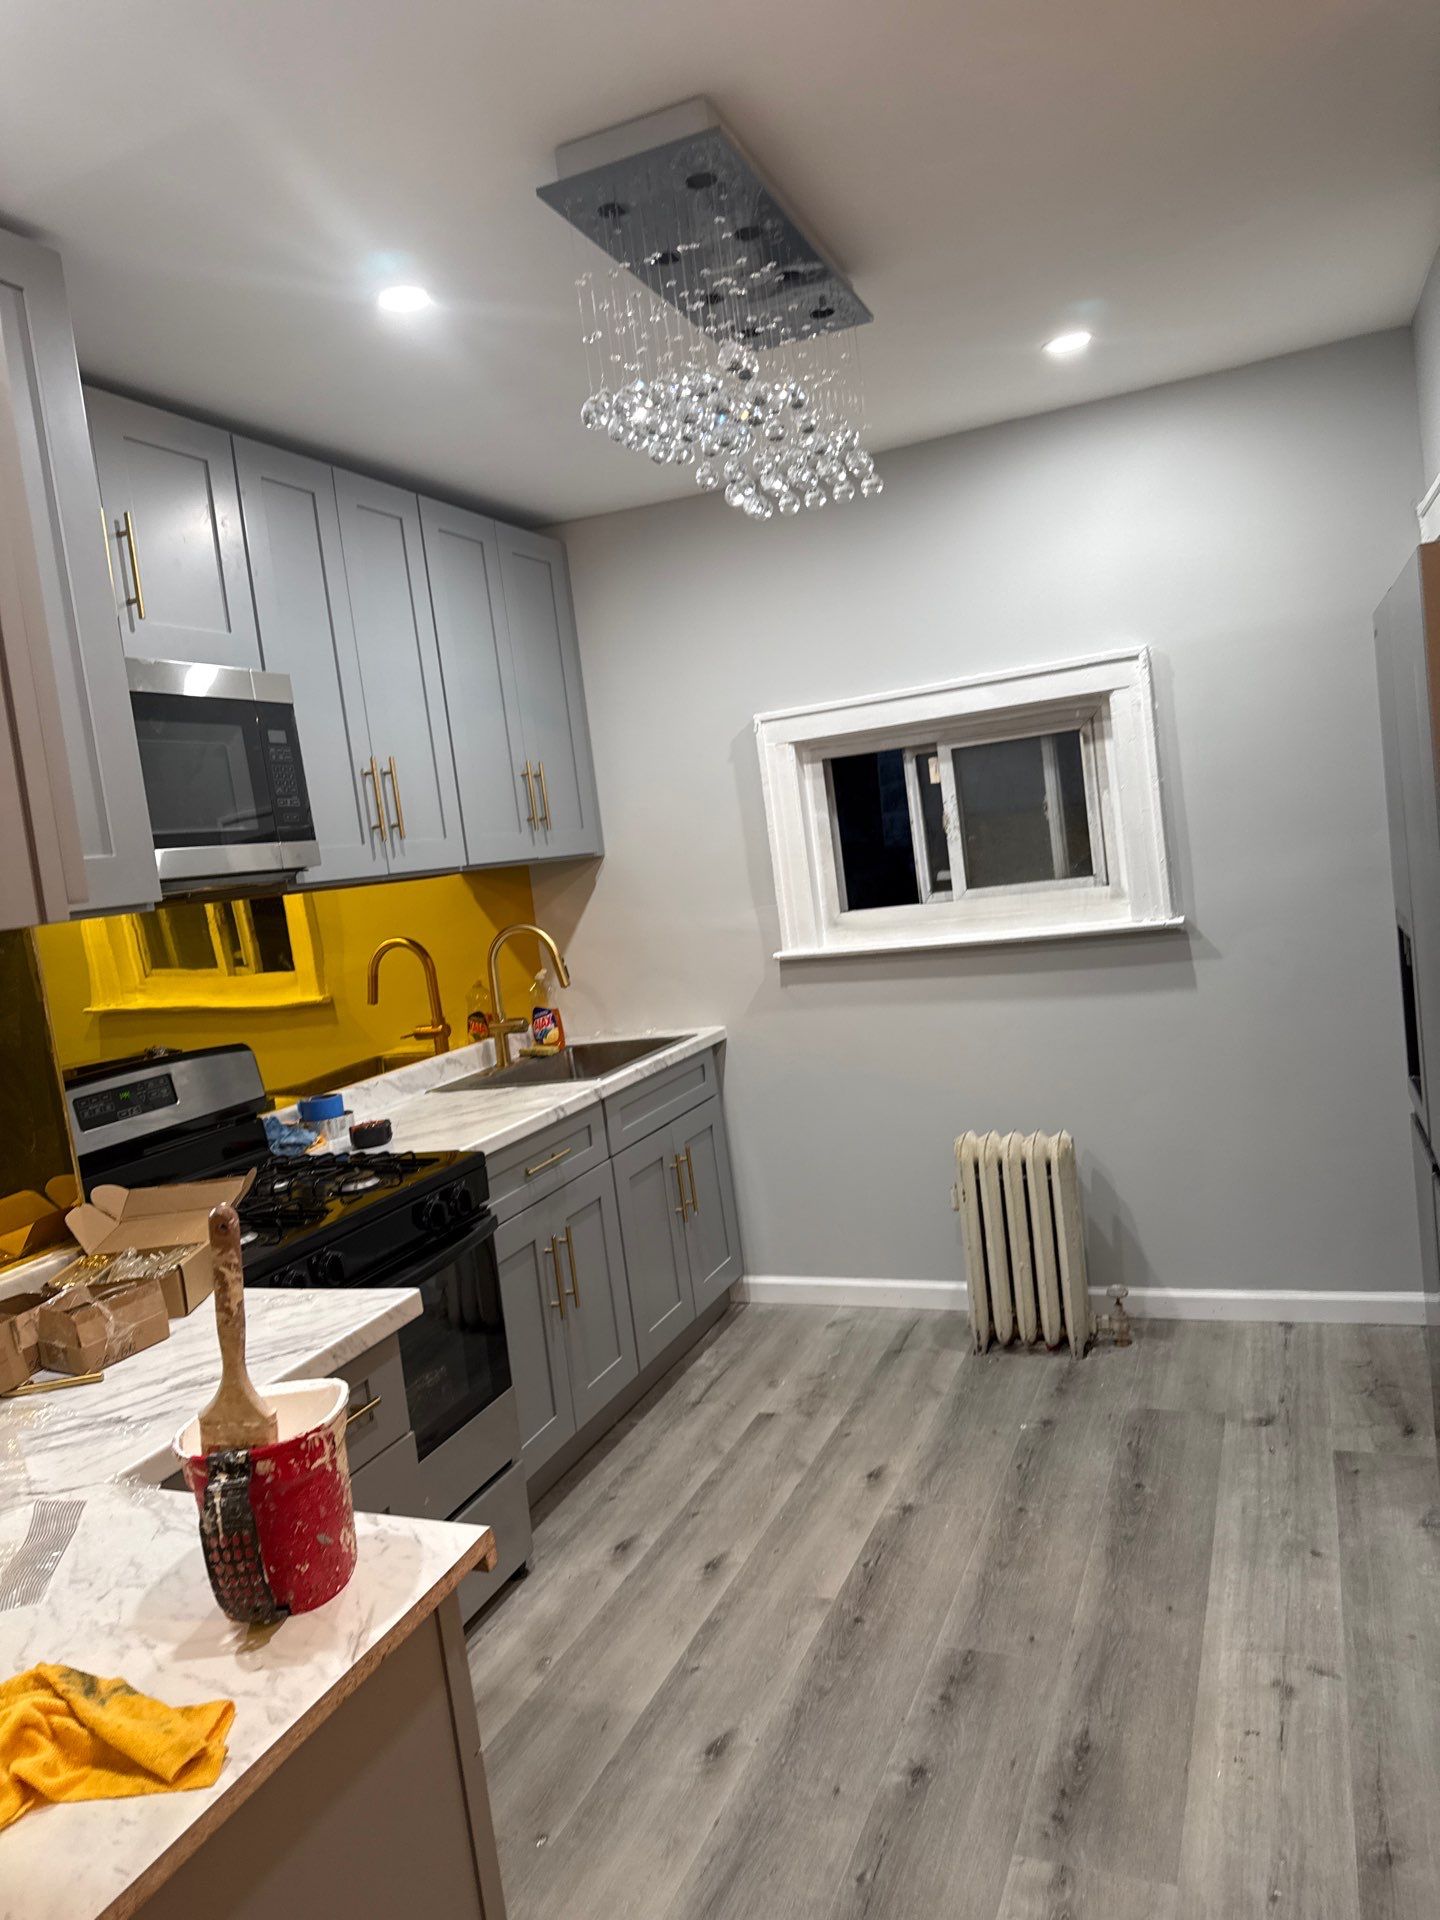
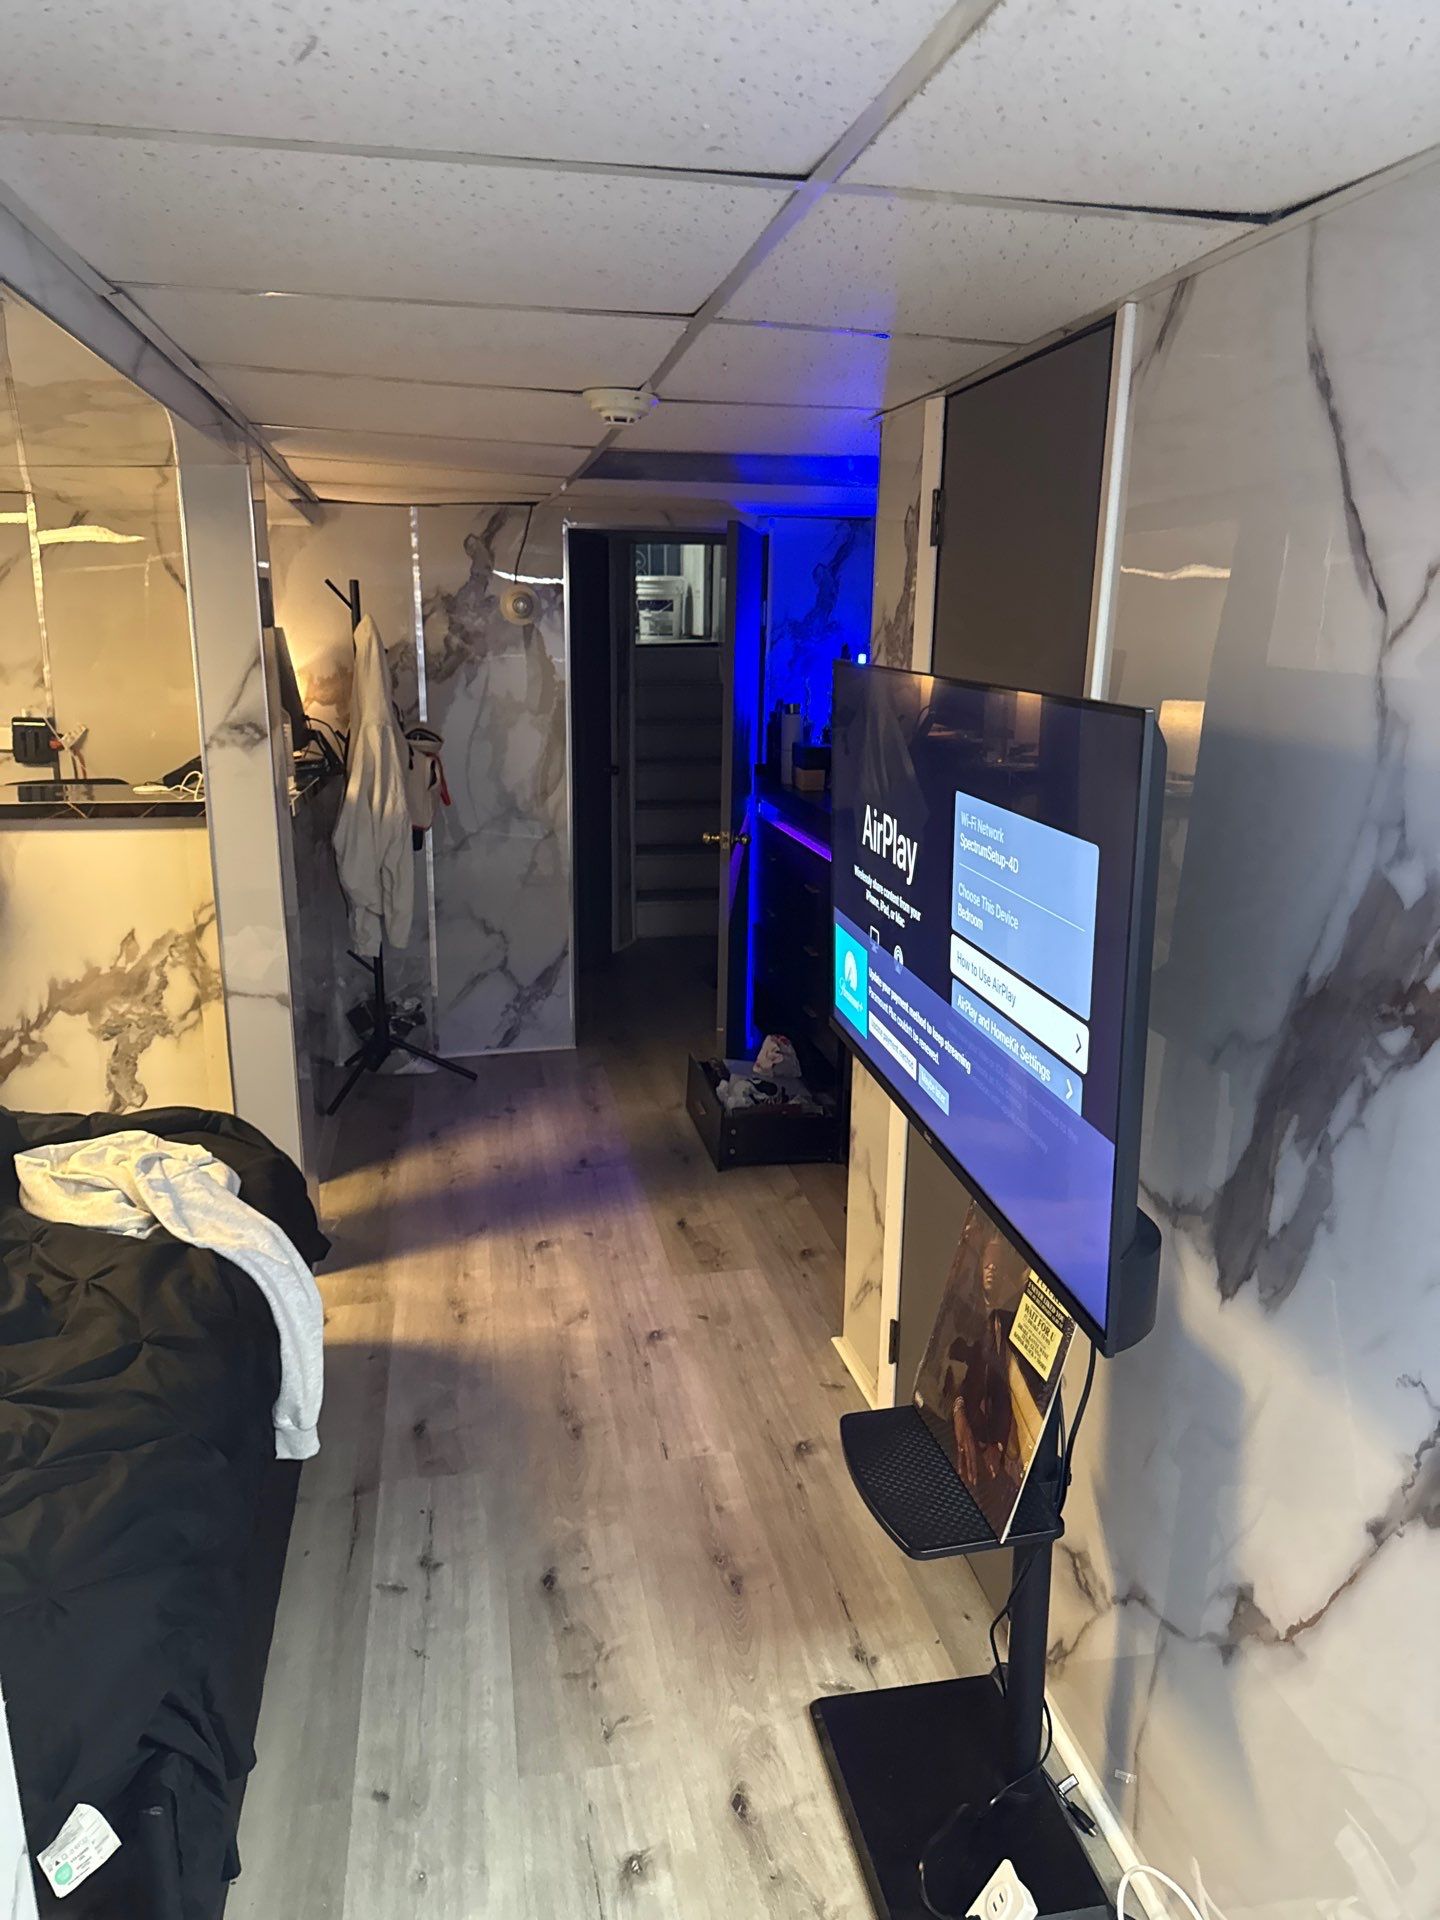
One real family, one real project — start to finish. Swipe through 14 photos that follow the same home from the day we got the call to the day they cooked dinner in it again.

  1. Phase 1 · DamageWater-damaged kitchen ceilingDay 1 — Kitchen ceiling soaked through from upstairs pipe burst.
  2. Phase 1 · DamageDamaged basement bedroomWater tracked down into the finished basement bedroom.
  3. Phase 2 · DemoCeiling opened to expose plumbingControlled demo — ceiling opened to source the leak and dry the cavity.
  4. Phase 2 · DemoDamaged materials hauled outSame-day haul-out of saturated drywall, cabinets and insulation.
  5. Phase 3 · DryAir movers running in kitchenCommercial air movers and a dehumidifier set up for structural drying.
  6. Phase 3 · DryMoisture meter on basement wallDaily moisture readings tracked until every cavity hit baseline.
  7. Phase 3 · DryMoisture meter showing 39Verified dry — documented and shared with the homeowner's insurer.
  8. Phase 4 · Clean SlateCleared basement ready for rebuildDemo complete, slab cleaned and sanitized — ready to rebuild.
  9. Phase 5 · RebuildPatched drywall and new flooringNew drywall hung and patched, new luxury vinyl plank going in.
  10. Phase 5 · RebuildCrew installing new flooringCrew laying new flooring through the basement utility room.
  11. Phase 6 · FinishesMarble-look wall panels installedCalacatta-look porcelain panels going up on the basement feature wall.
  12. Phase 6 · FinishesKitchen cabinets and gold backsplash installedNew shaker cabinets, marble counters and gold-mirror backsplash.
  13. Phase 7 · FinalFinished kitchen with chandelierFinished kitchen — crystal chandelier on, family back at the stove.
  14. Phase 7 · FinalFinished basement living areaFinished basement — marble walls, new floor, and movie night for the kids.
1 / 14
Project 02 · Kitchen, Bath & Floors

From dated and damaged to a clean rebuild.

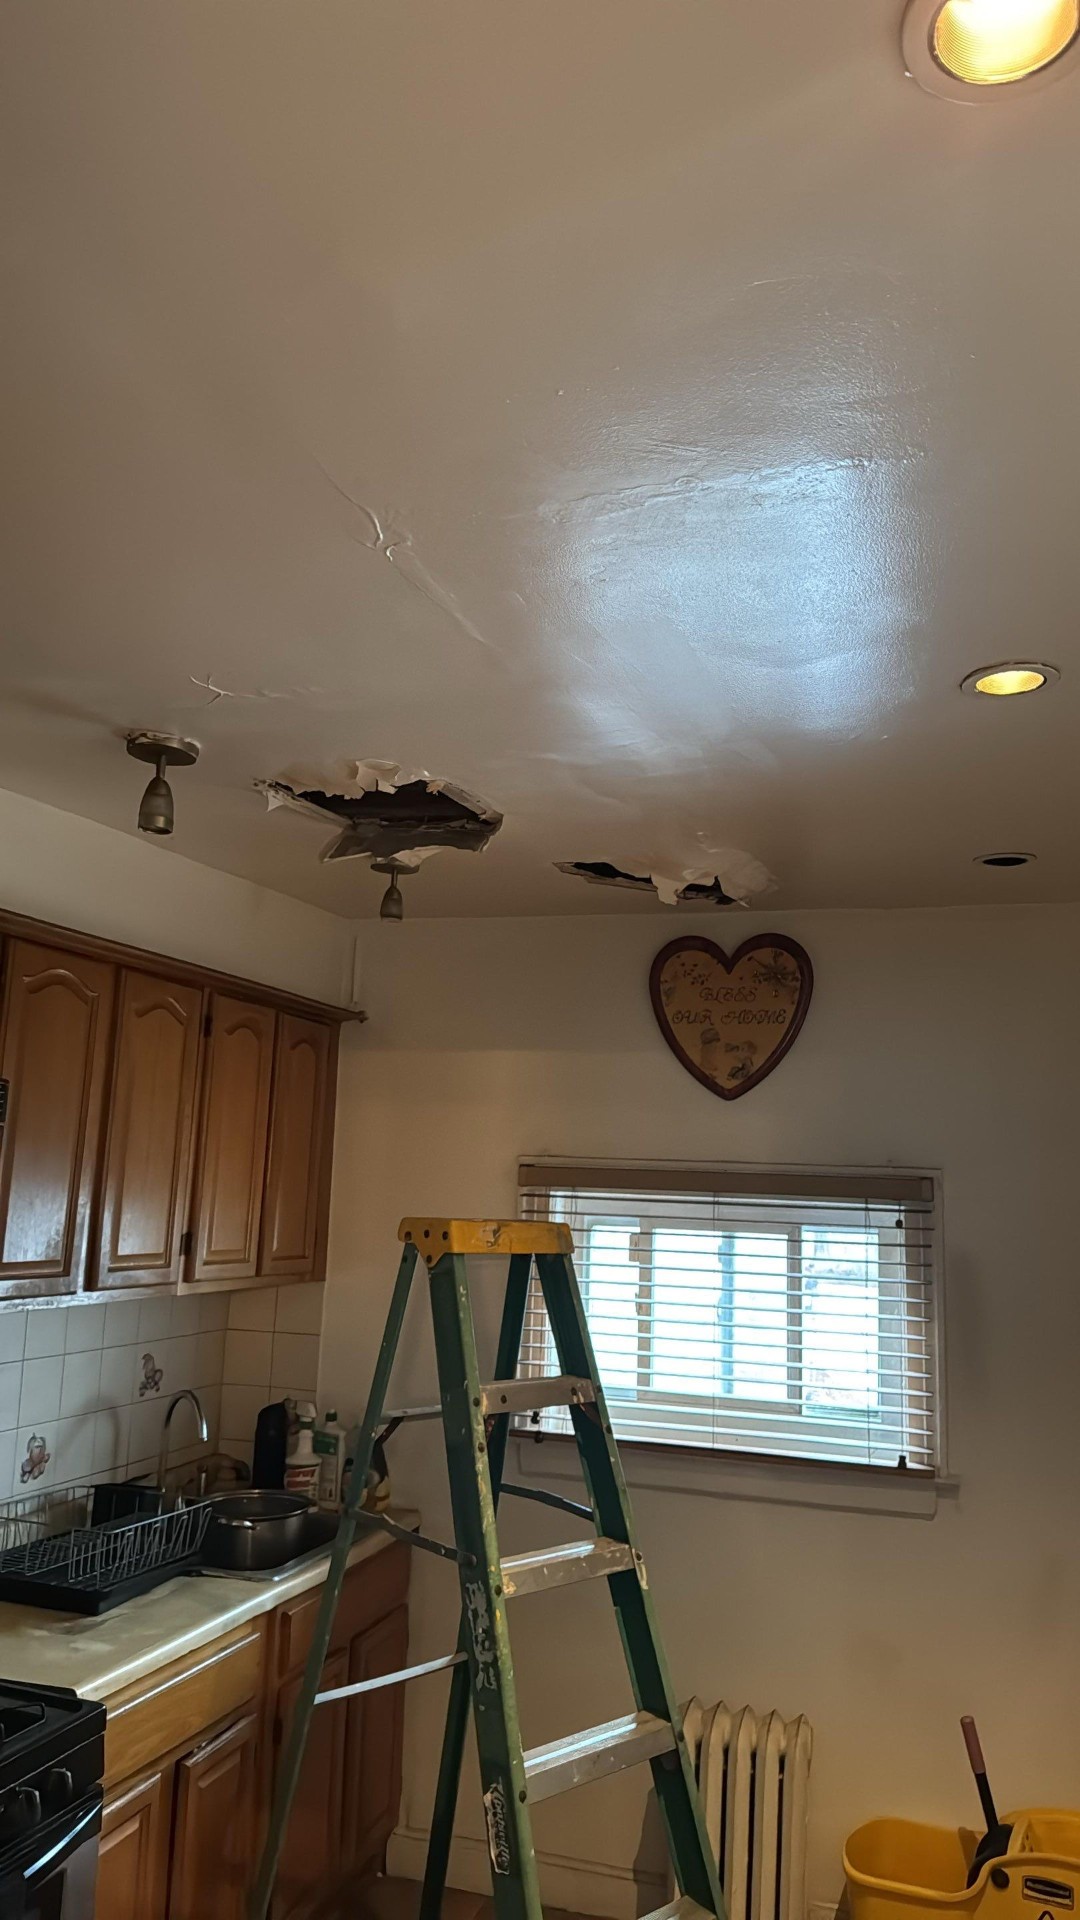
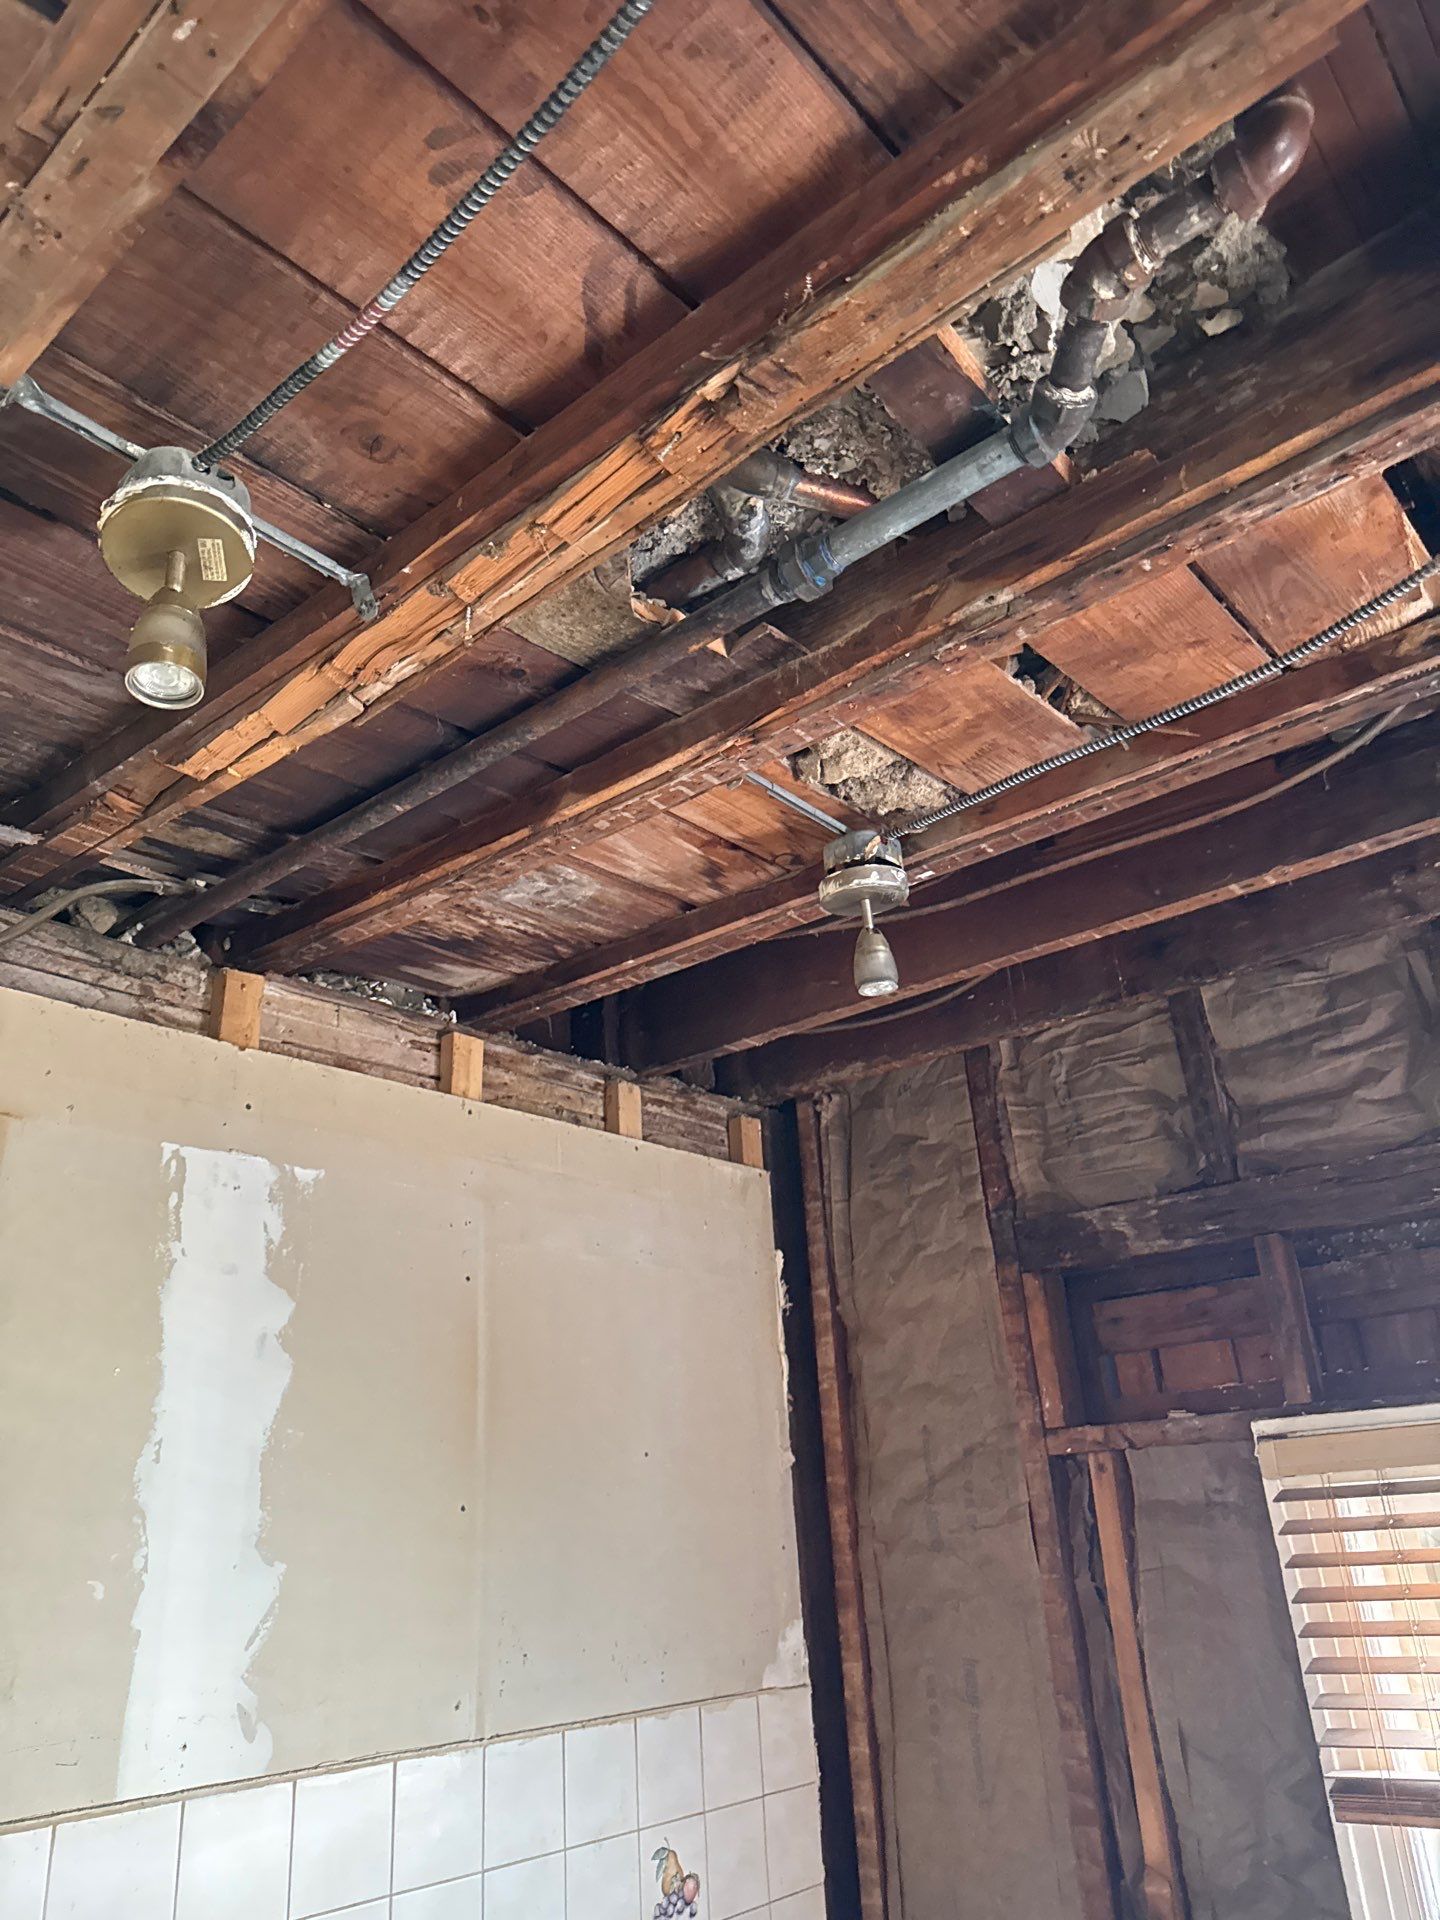
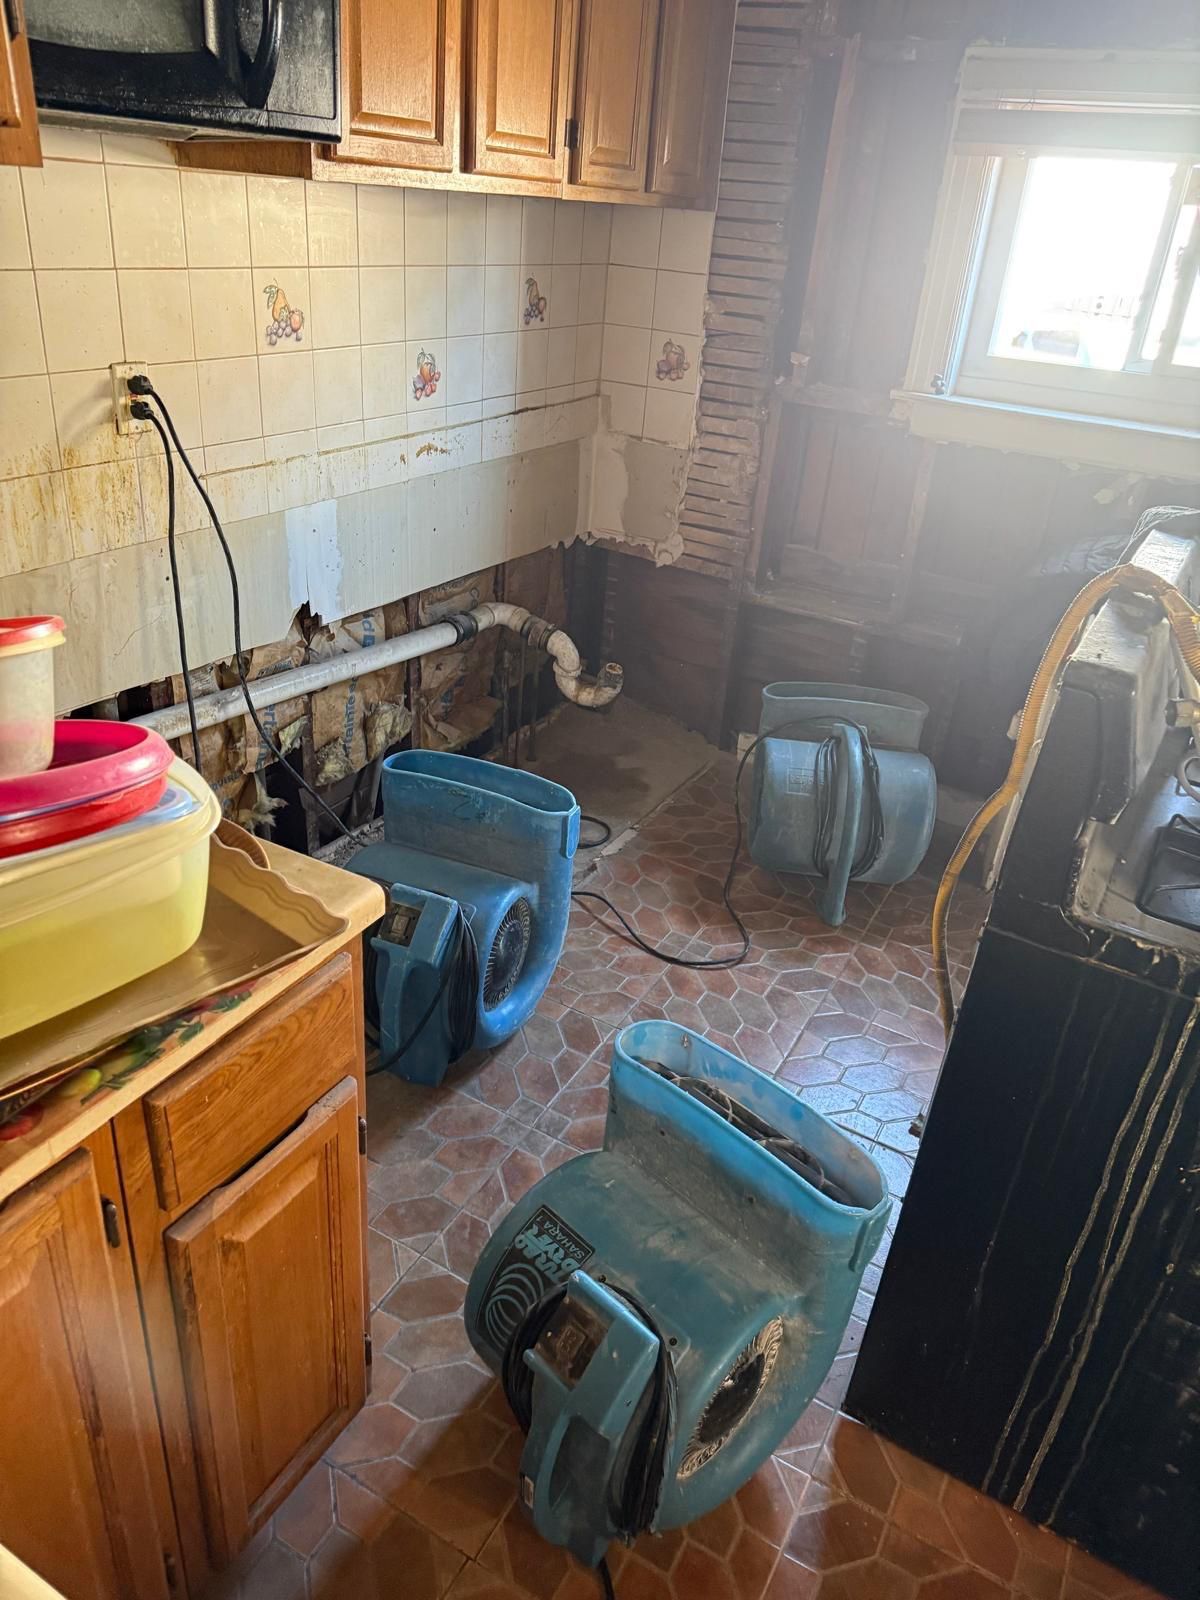
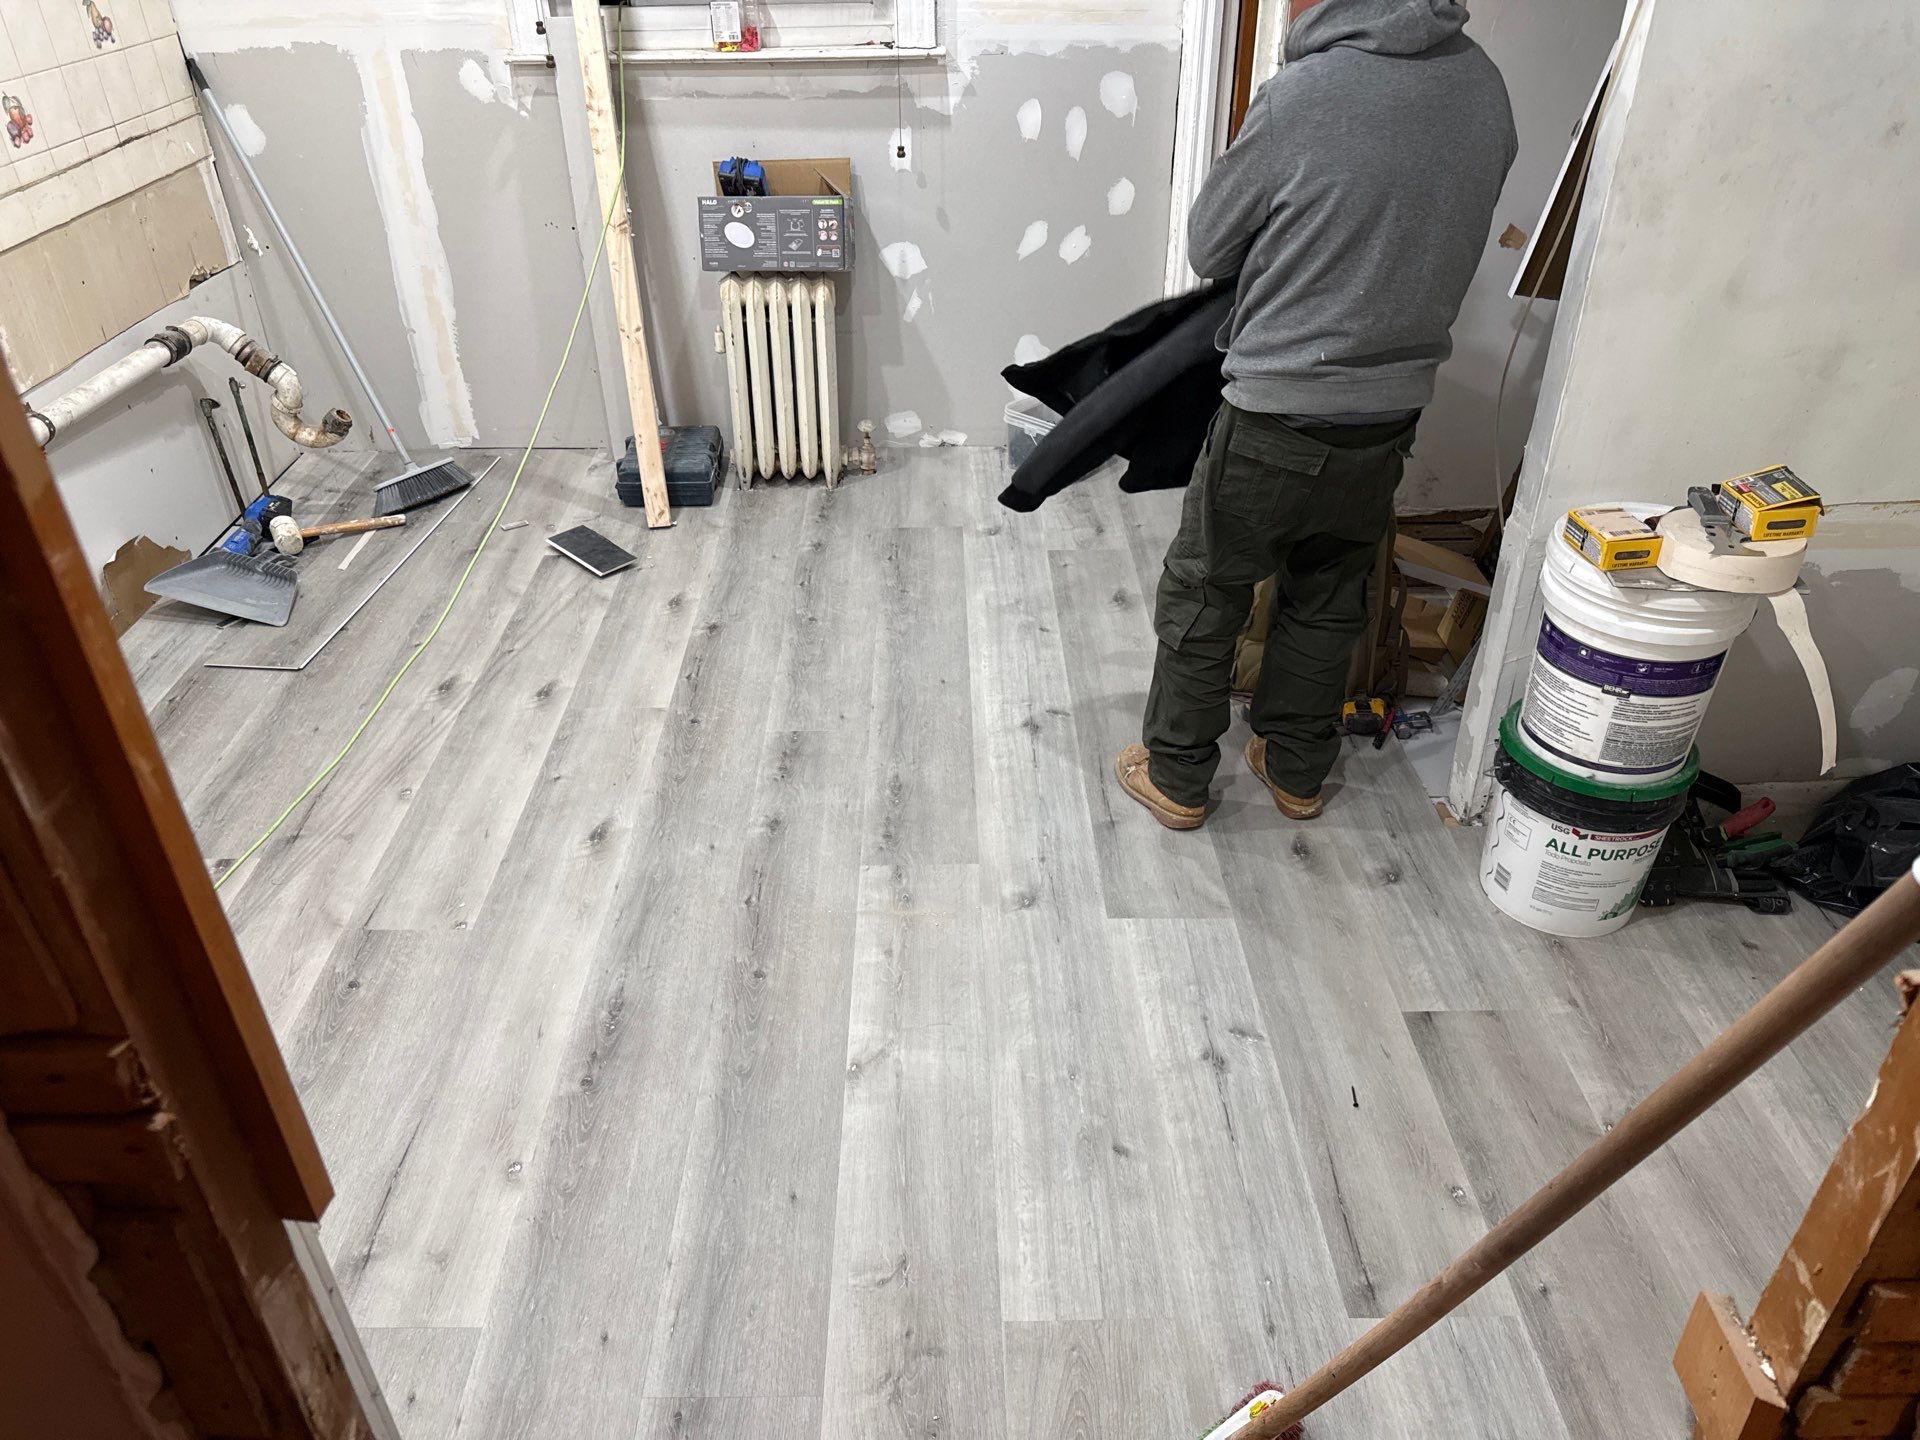
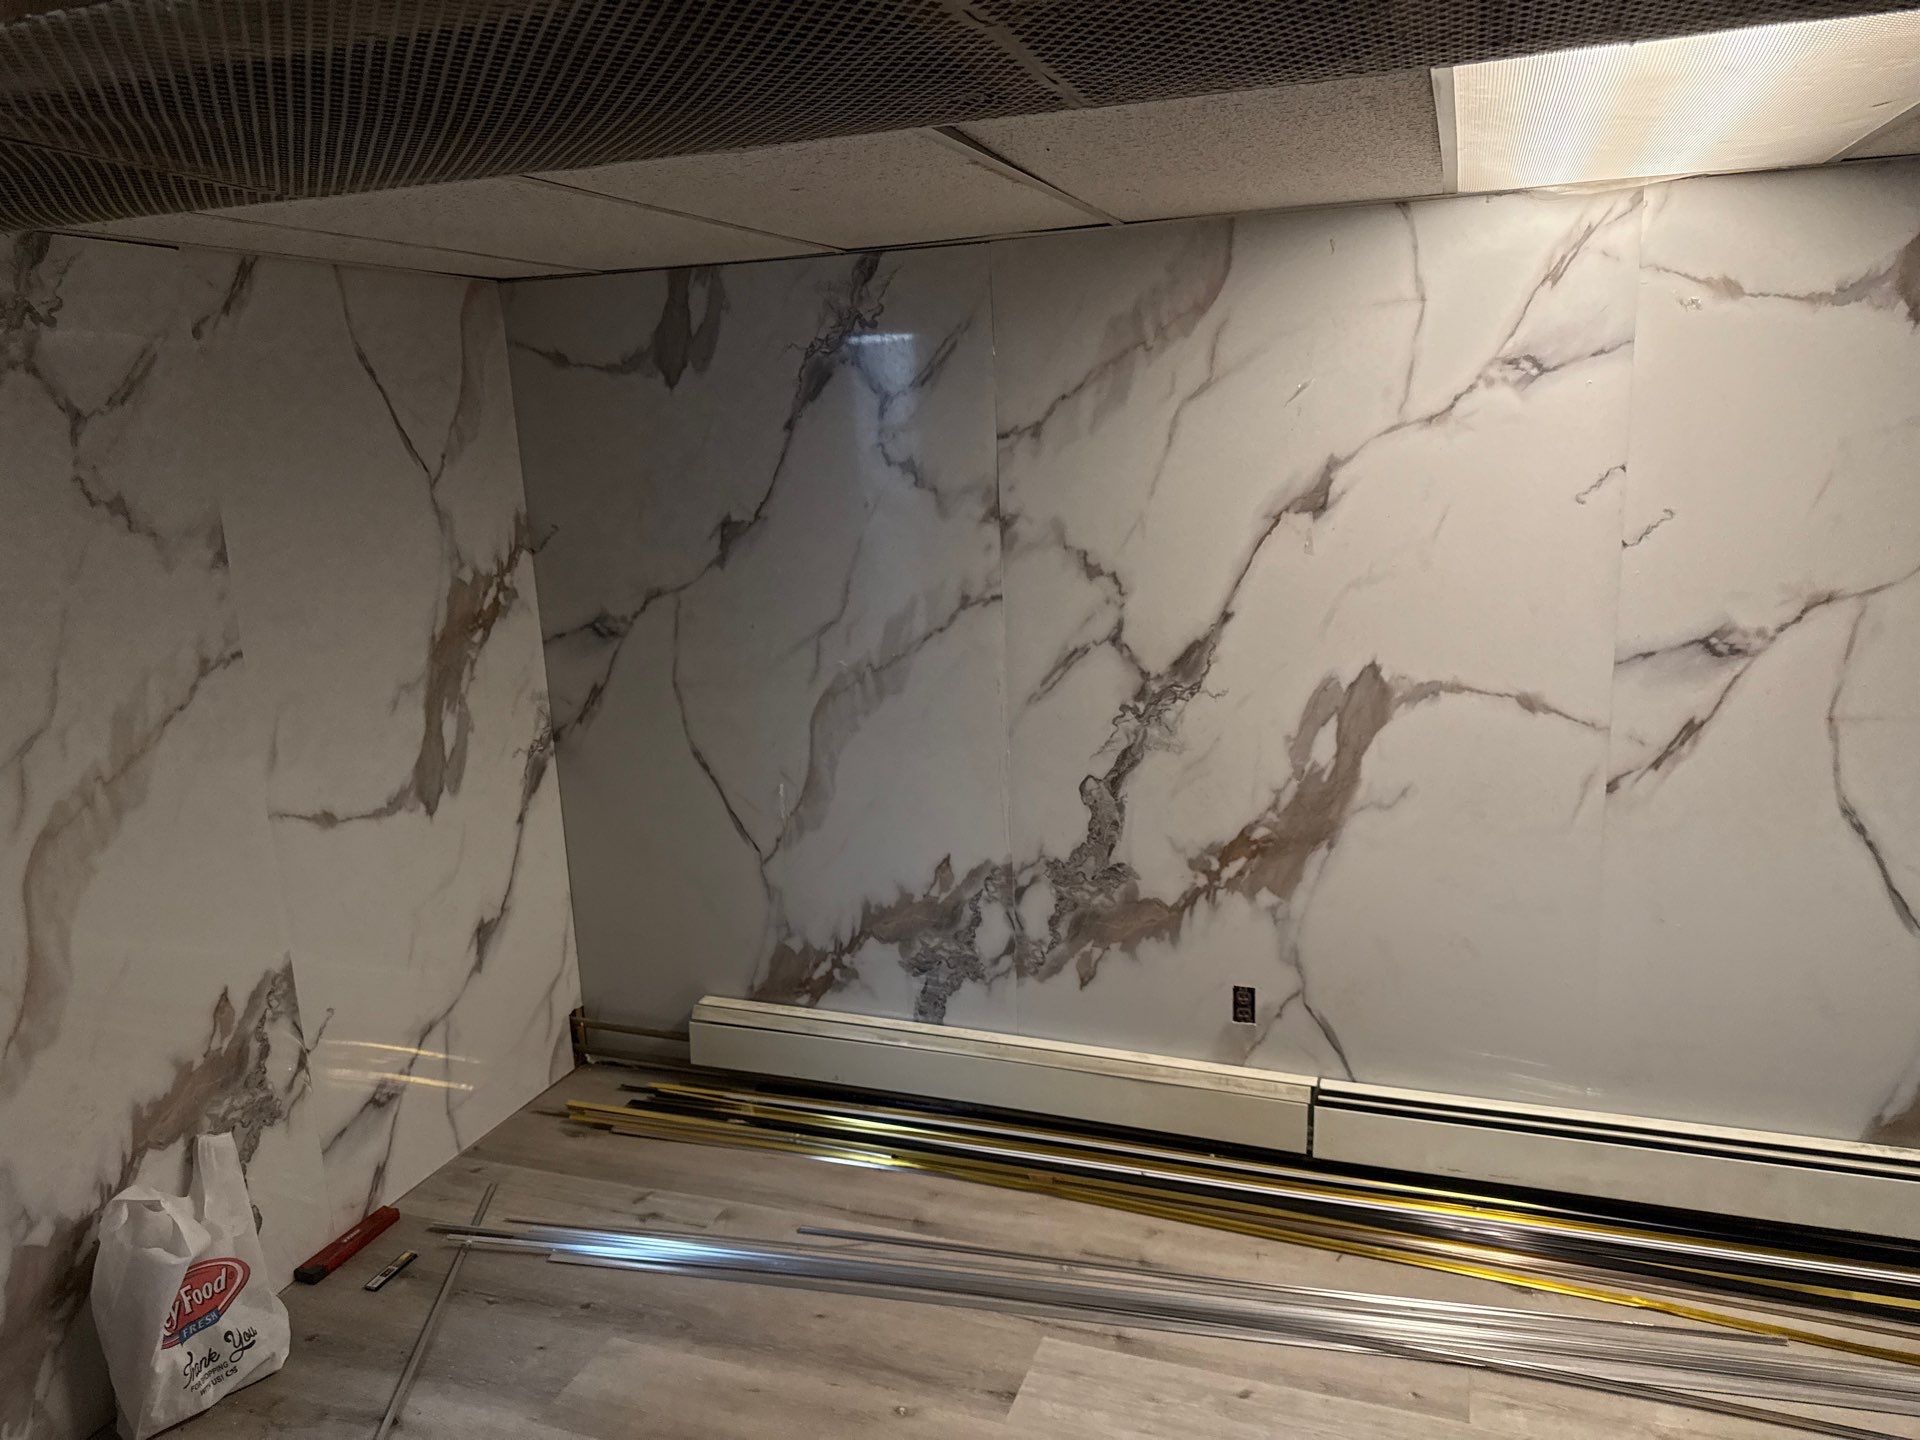
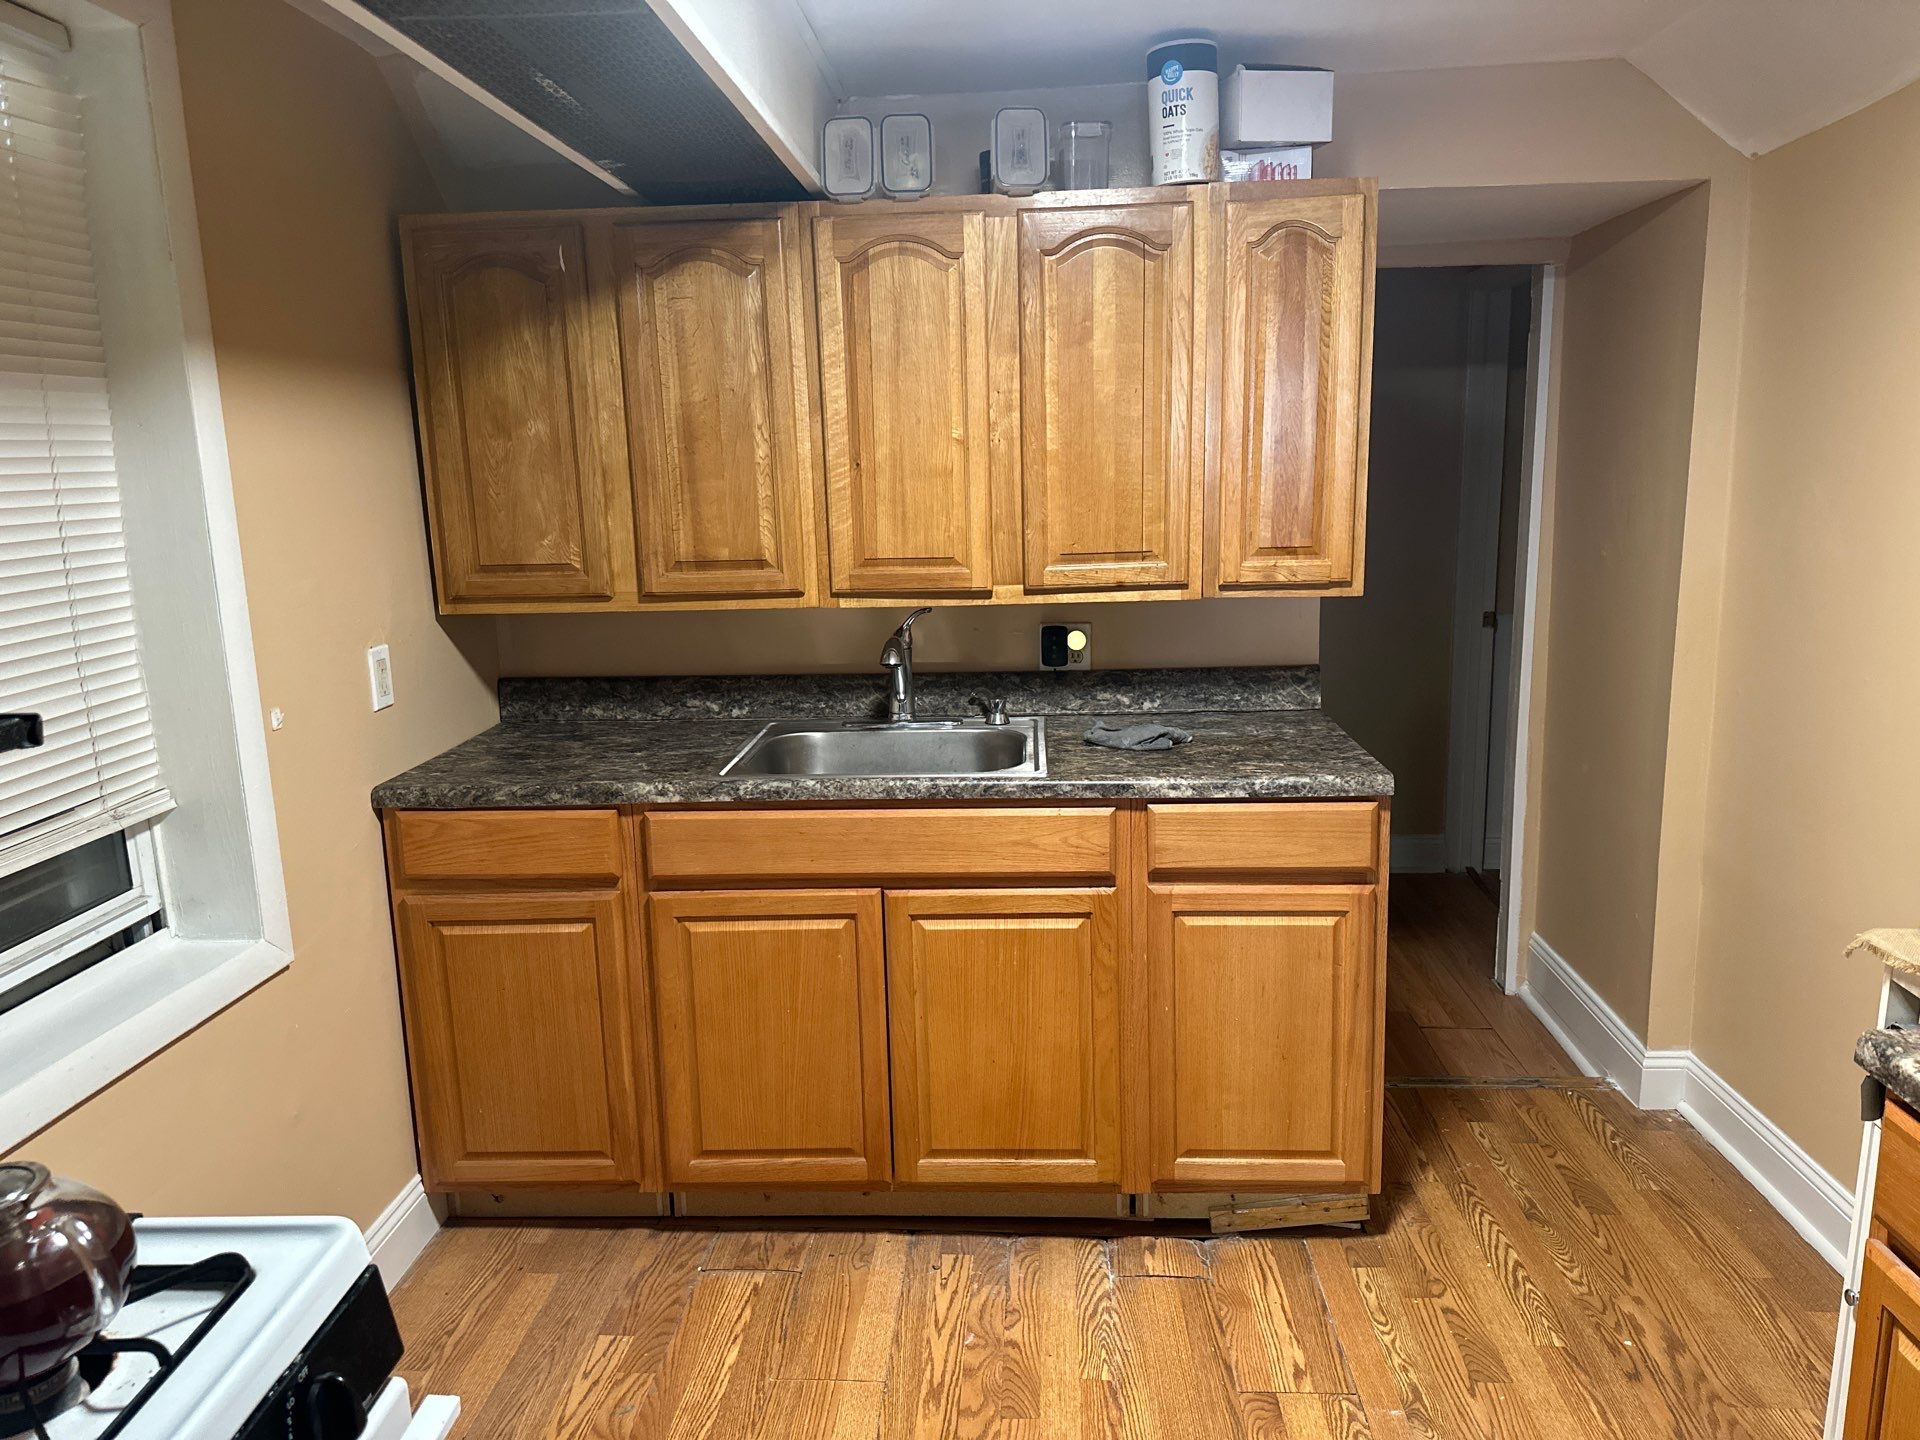
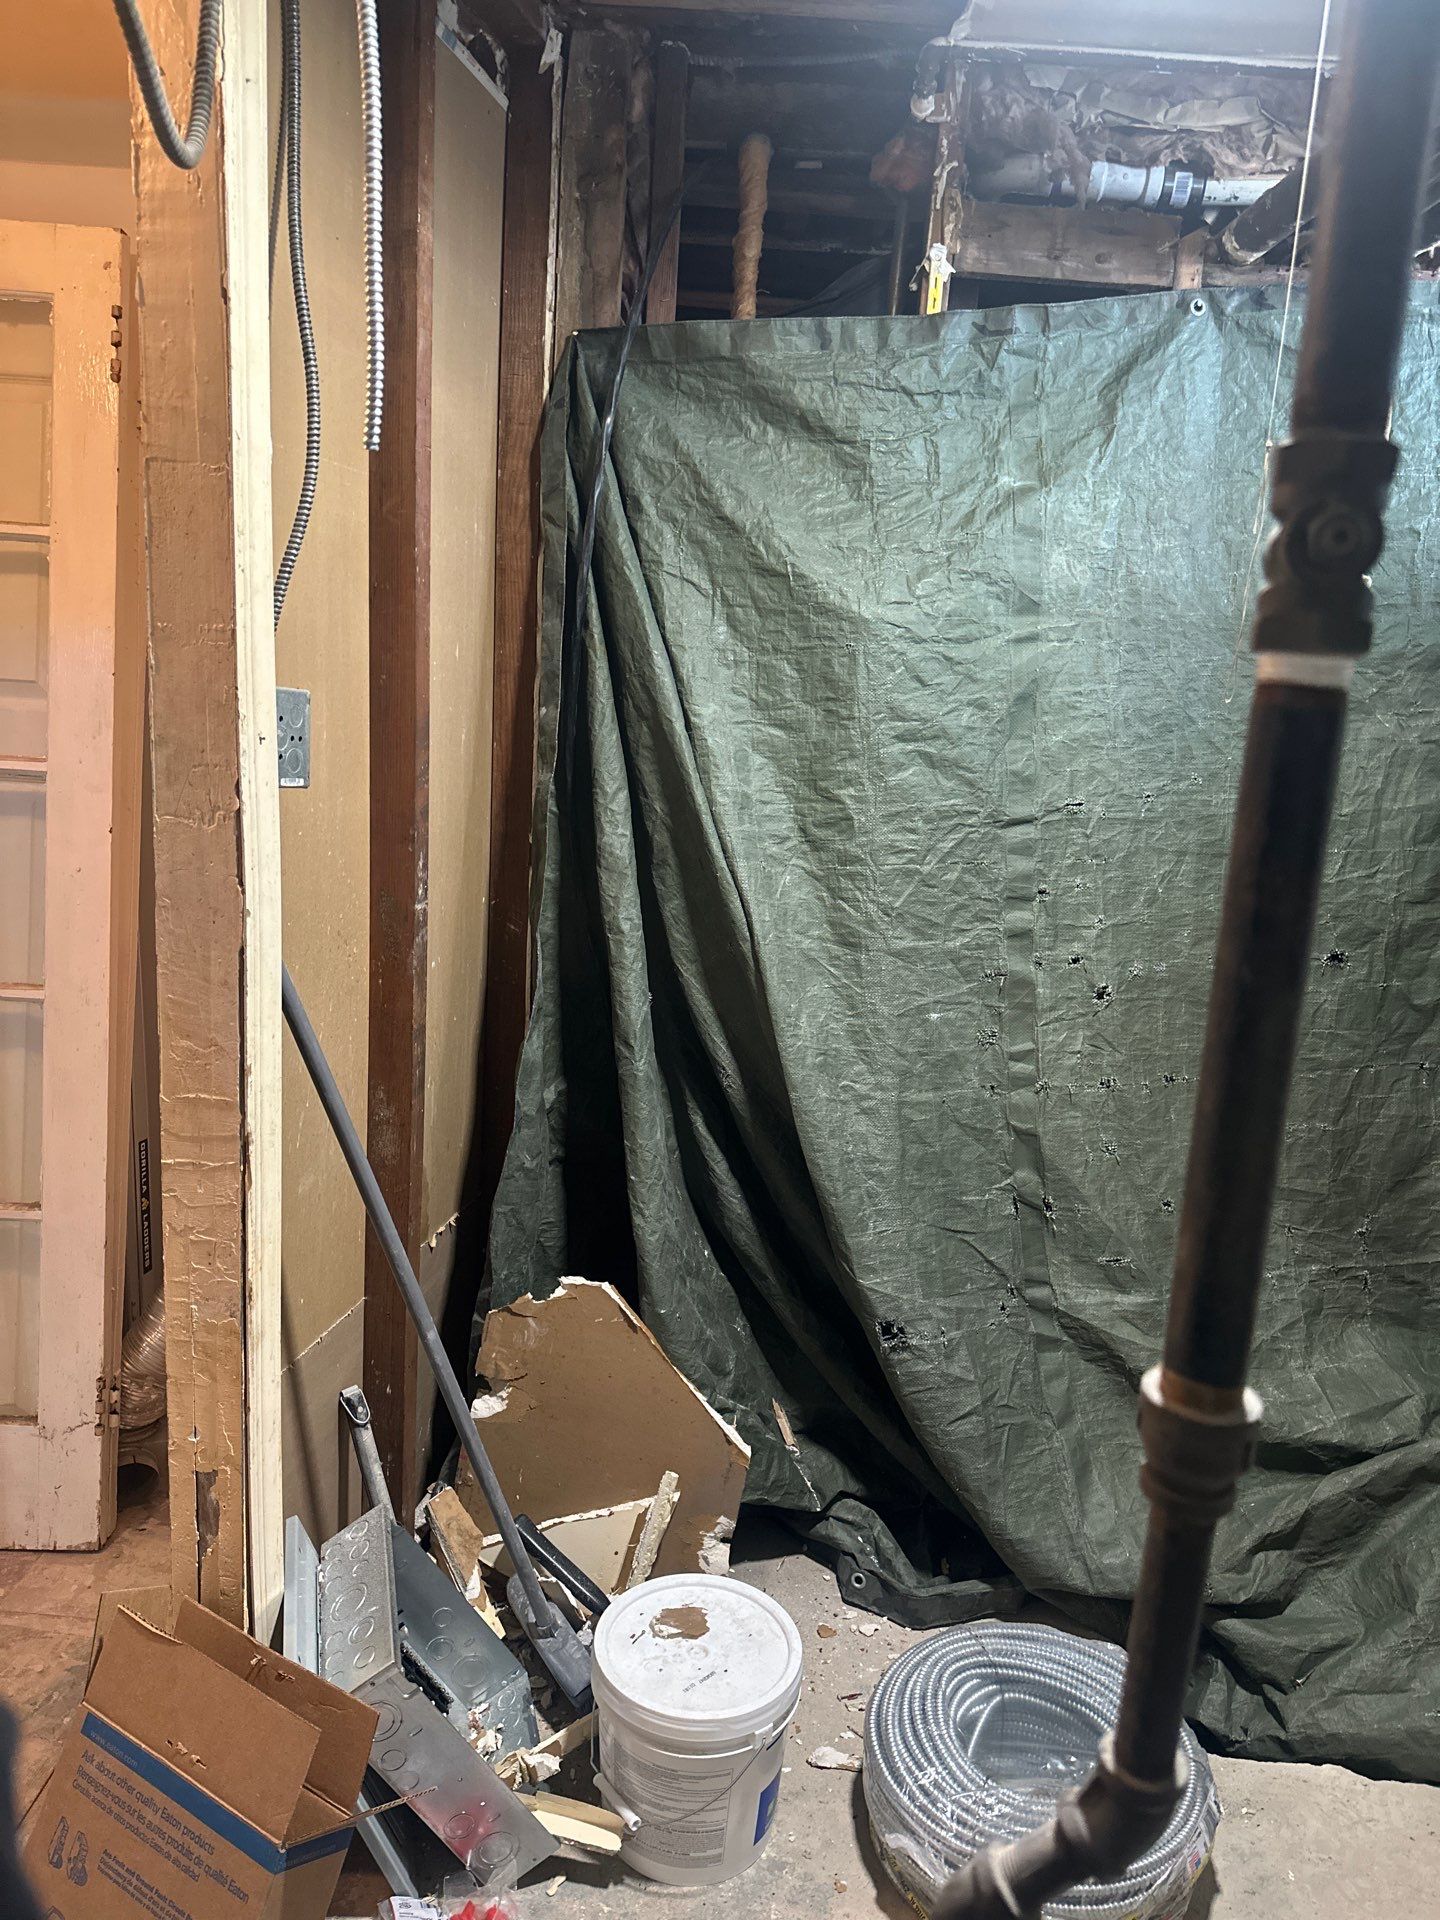
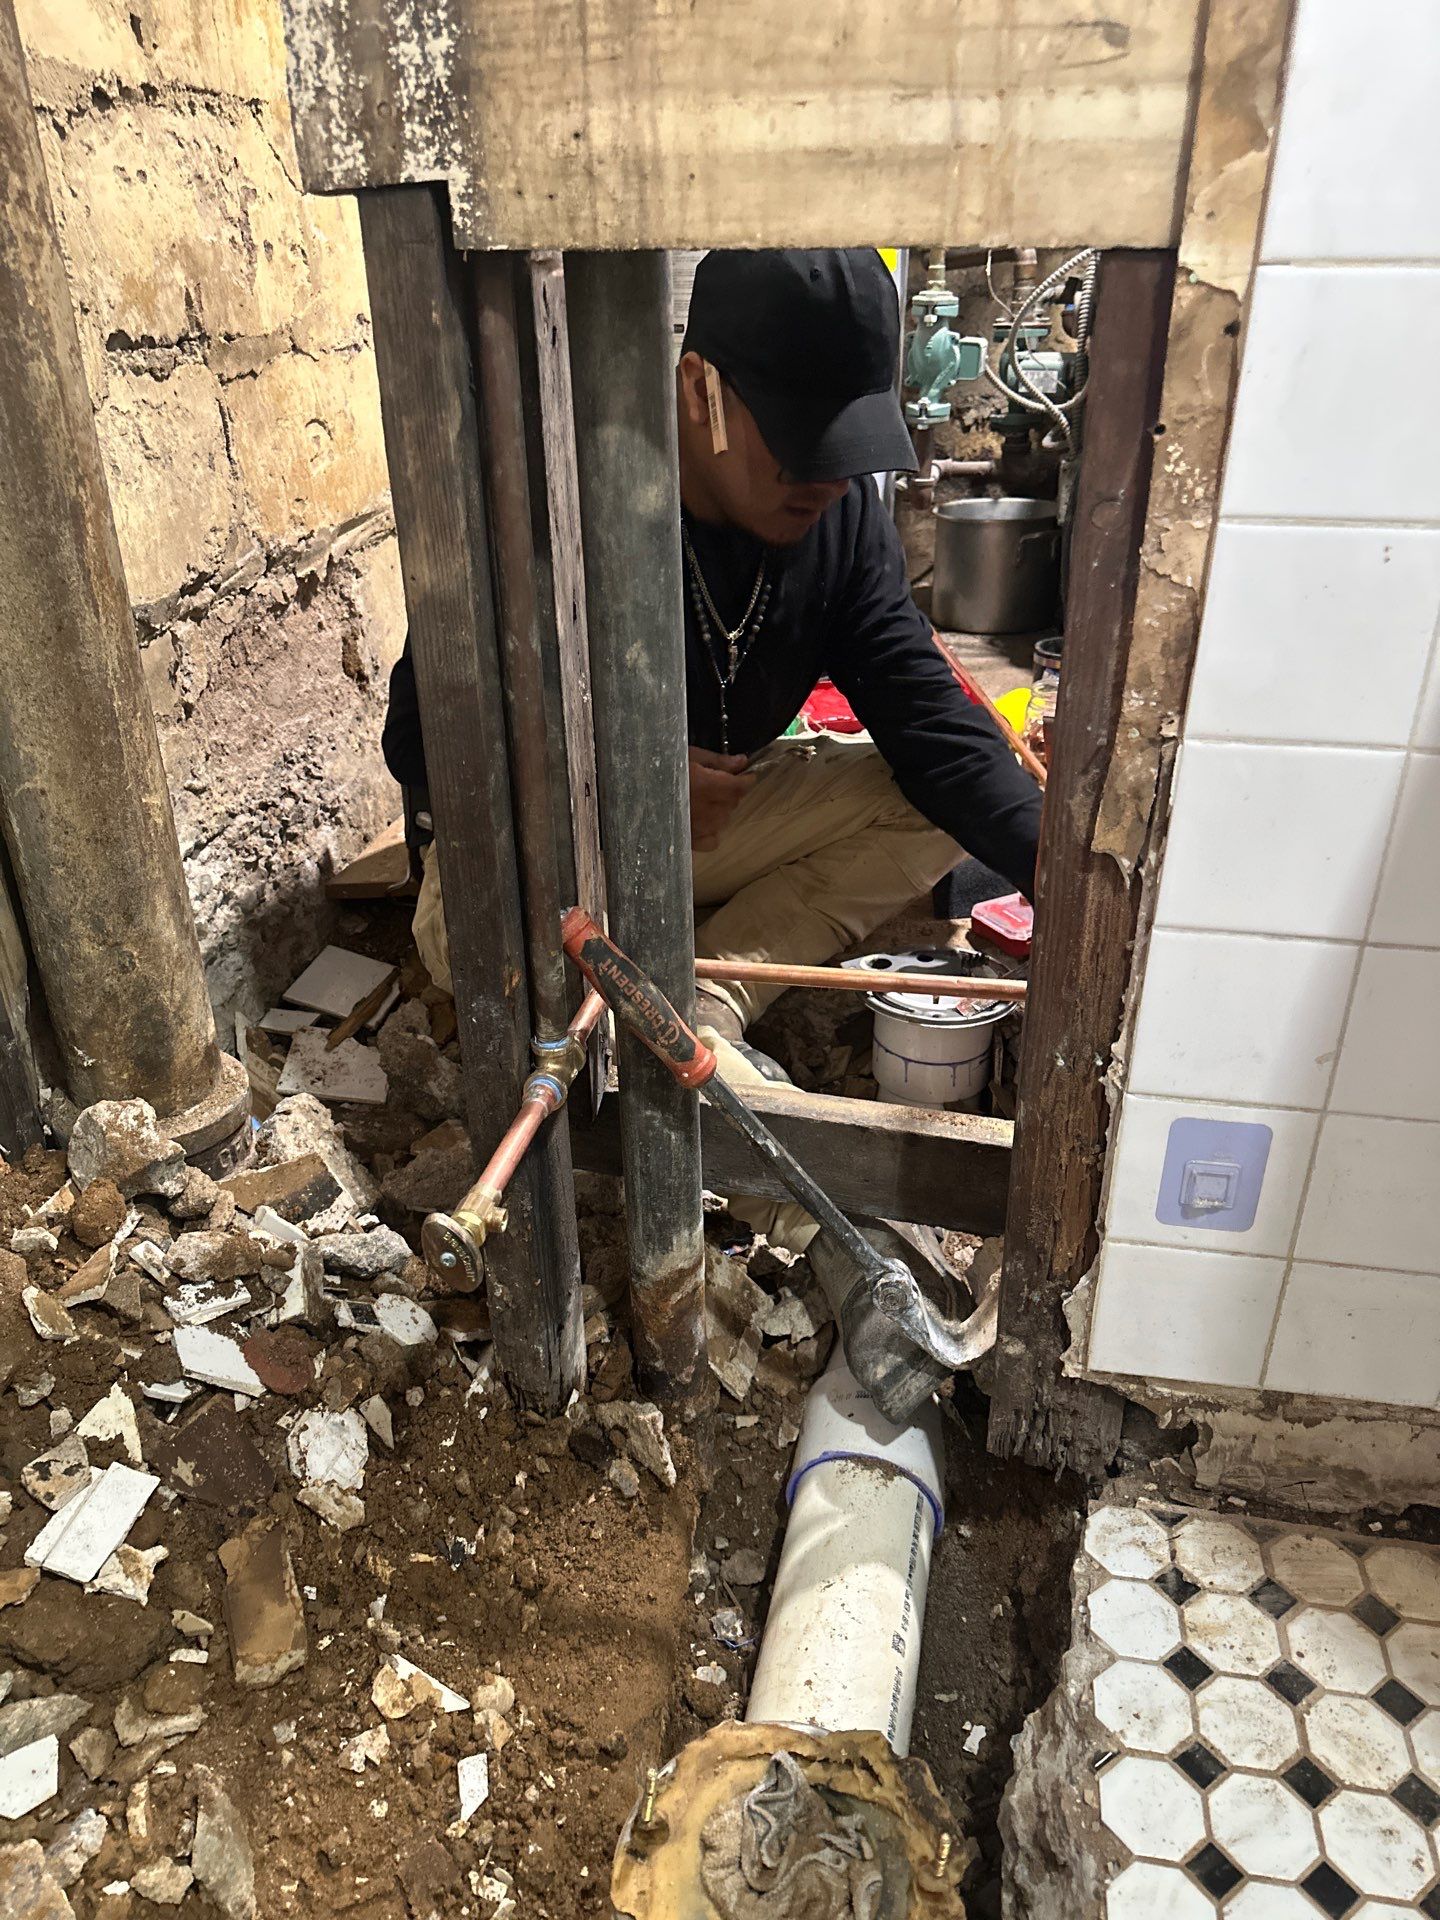
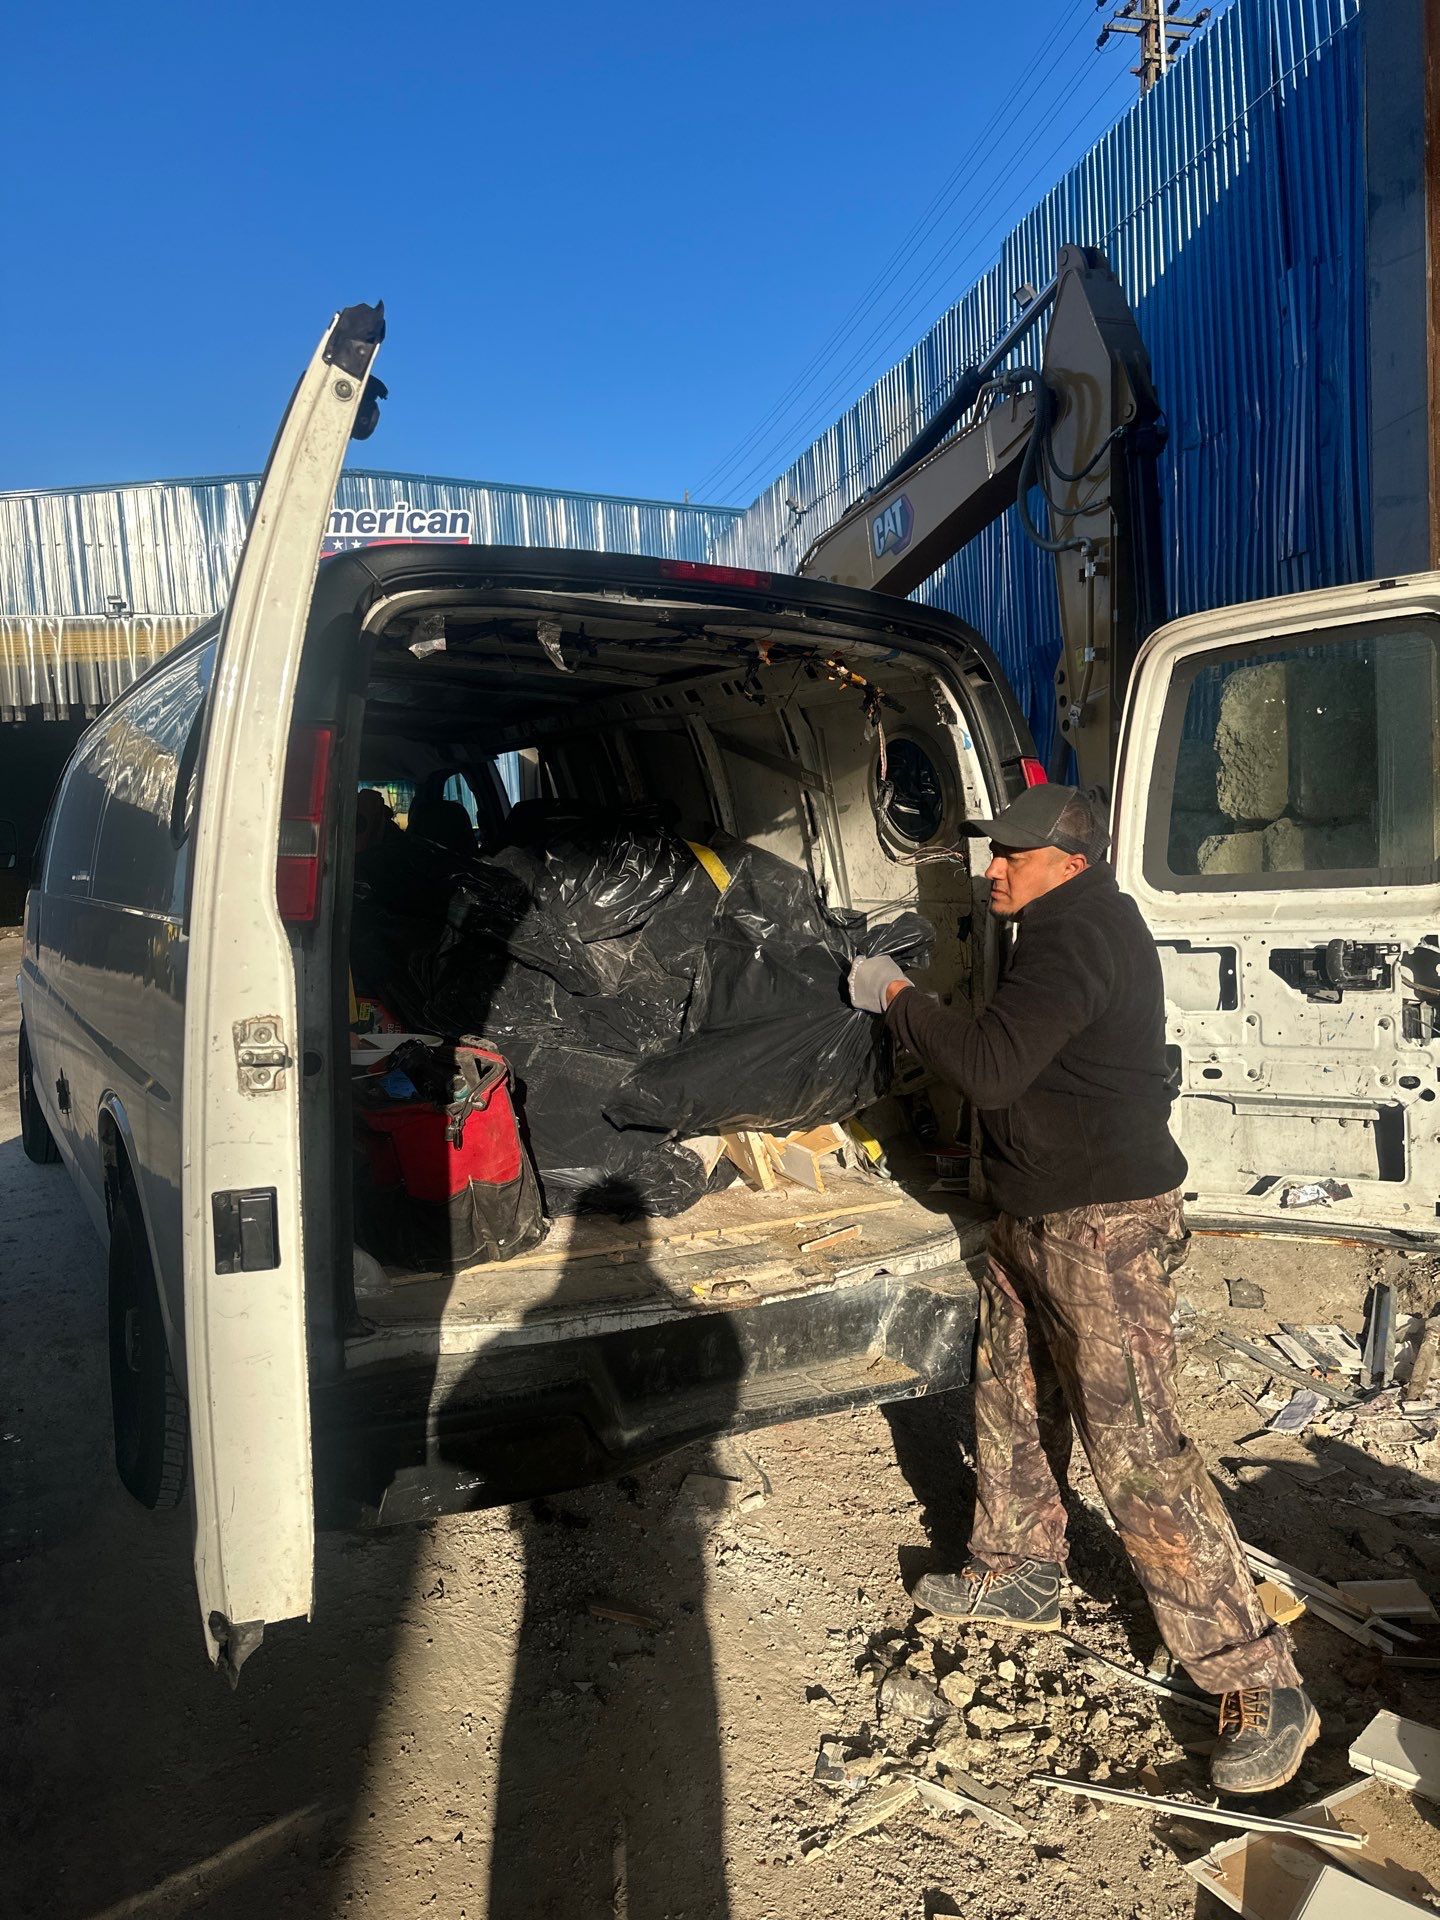
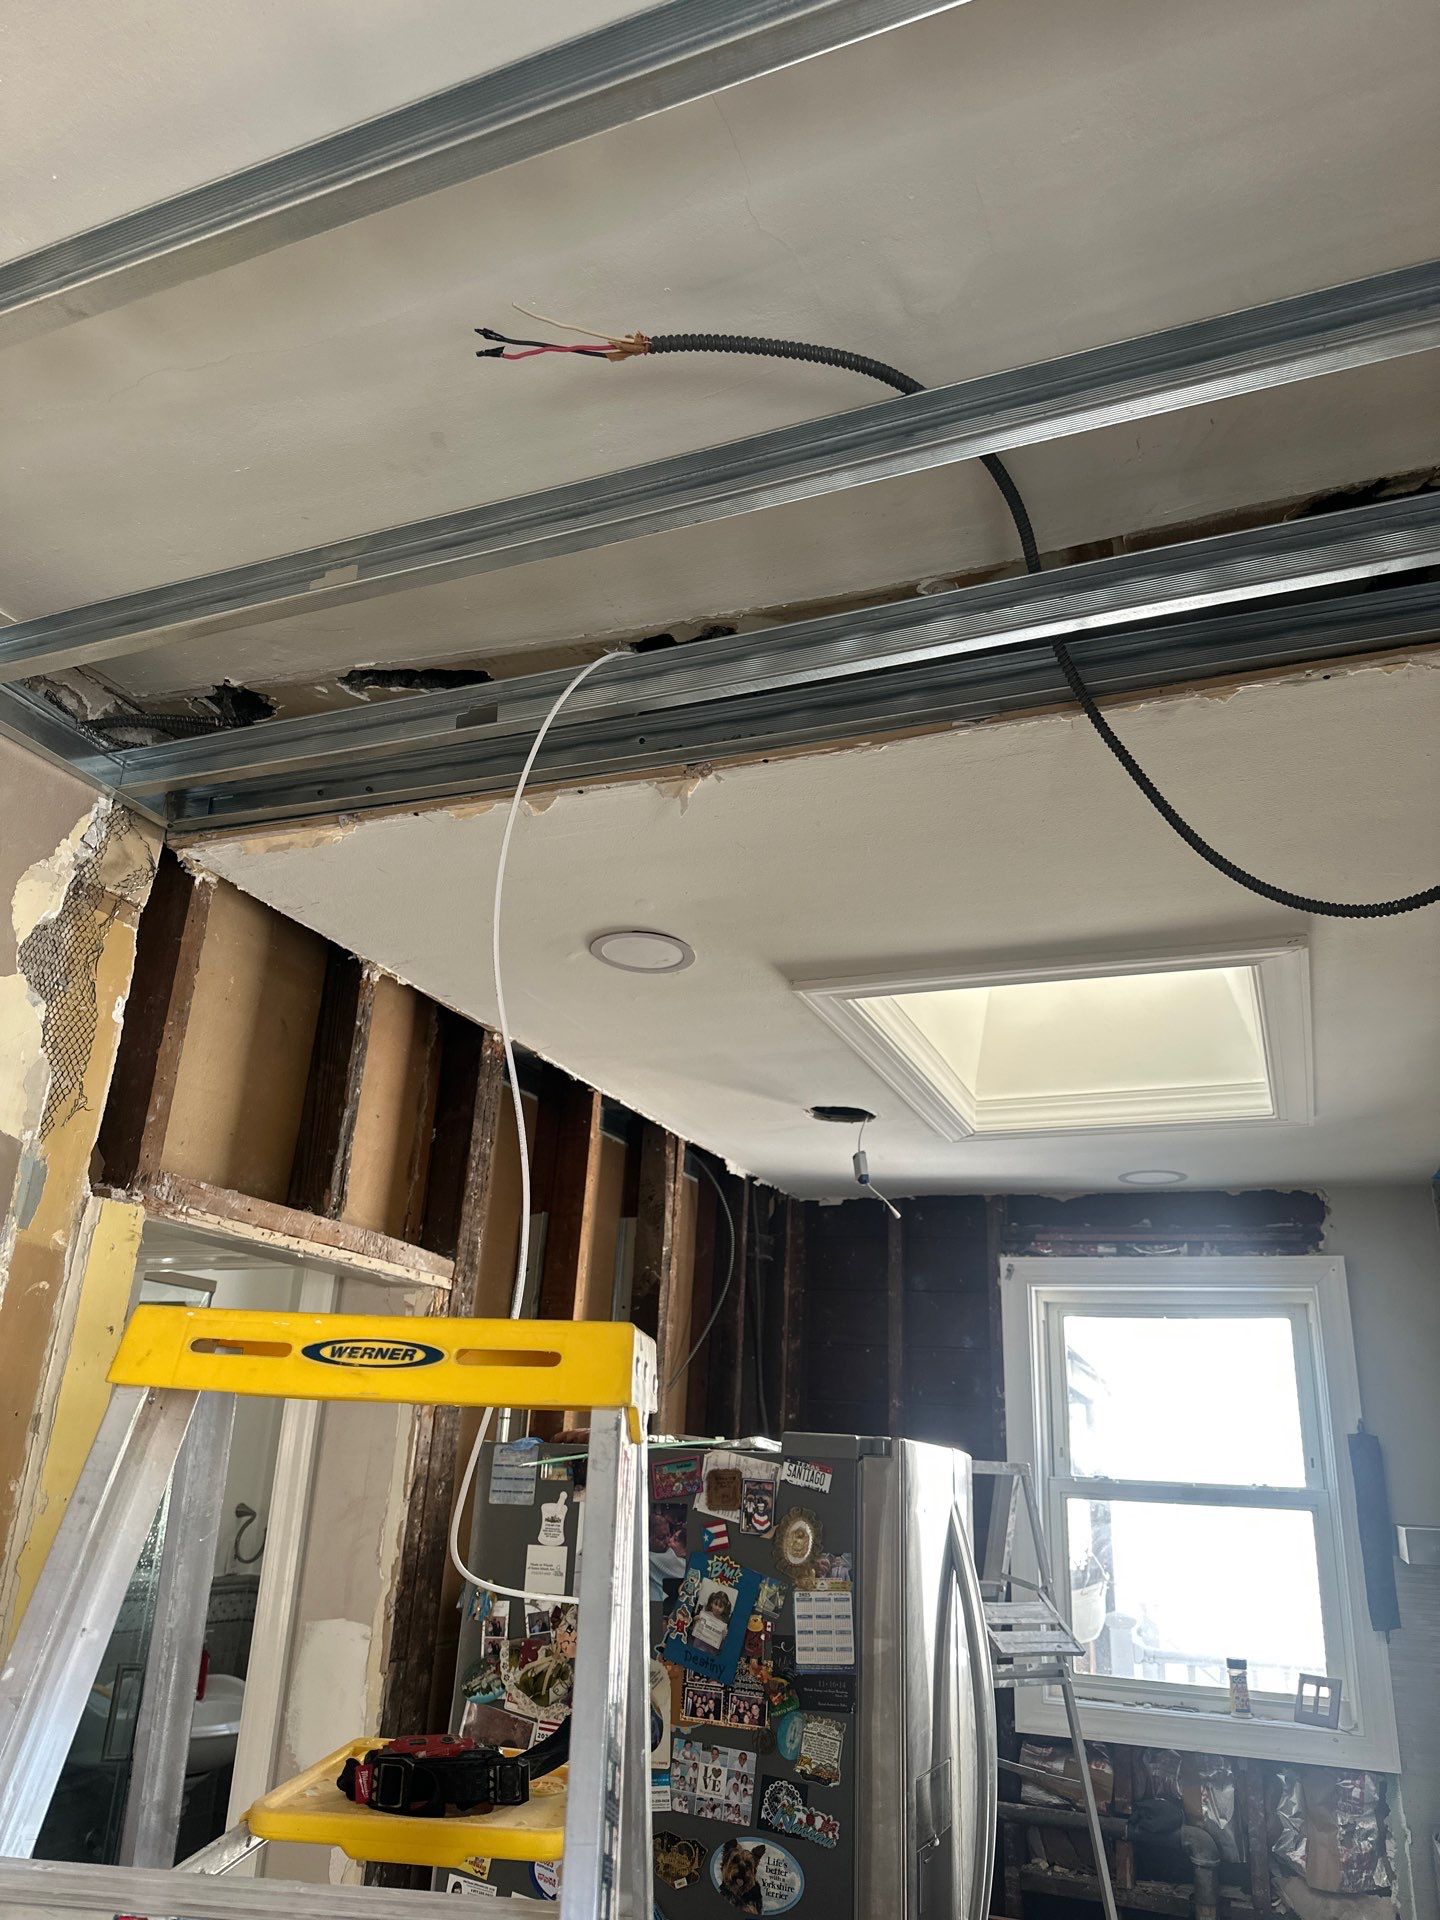
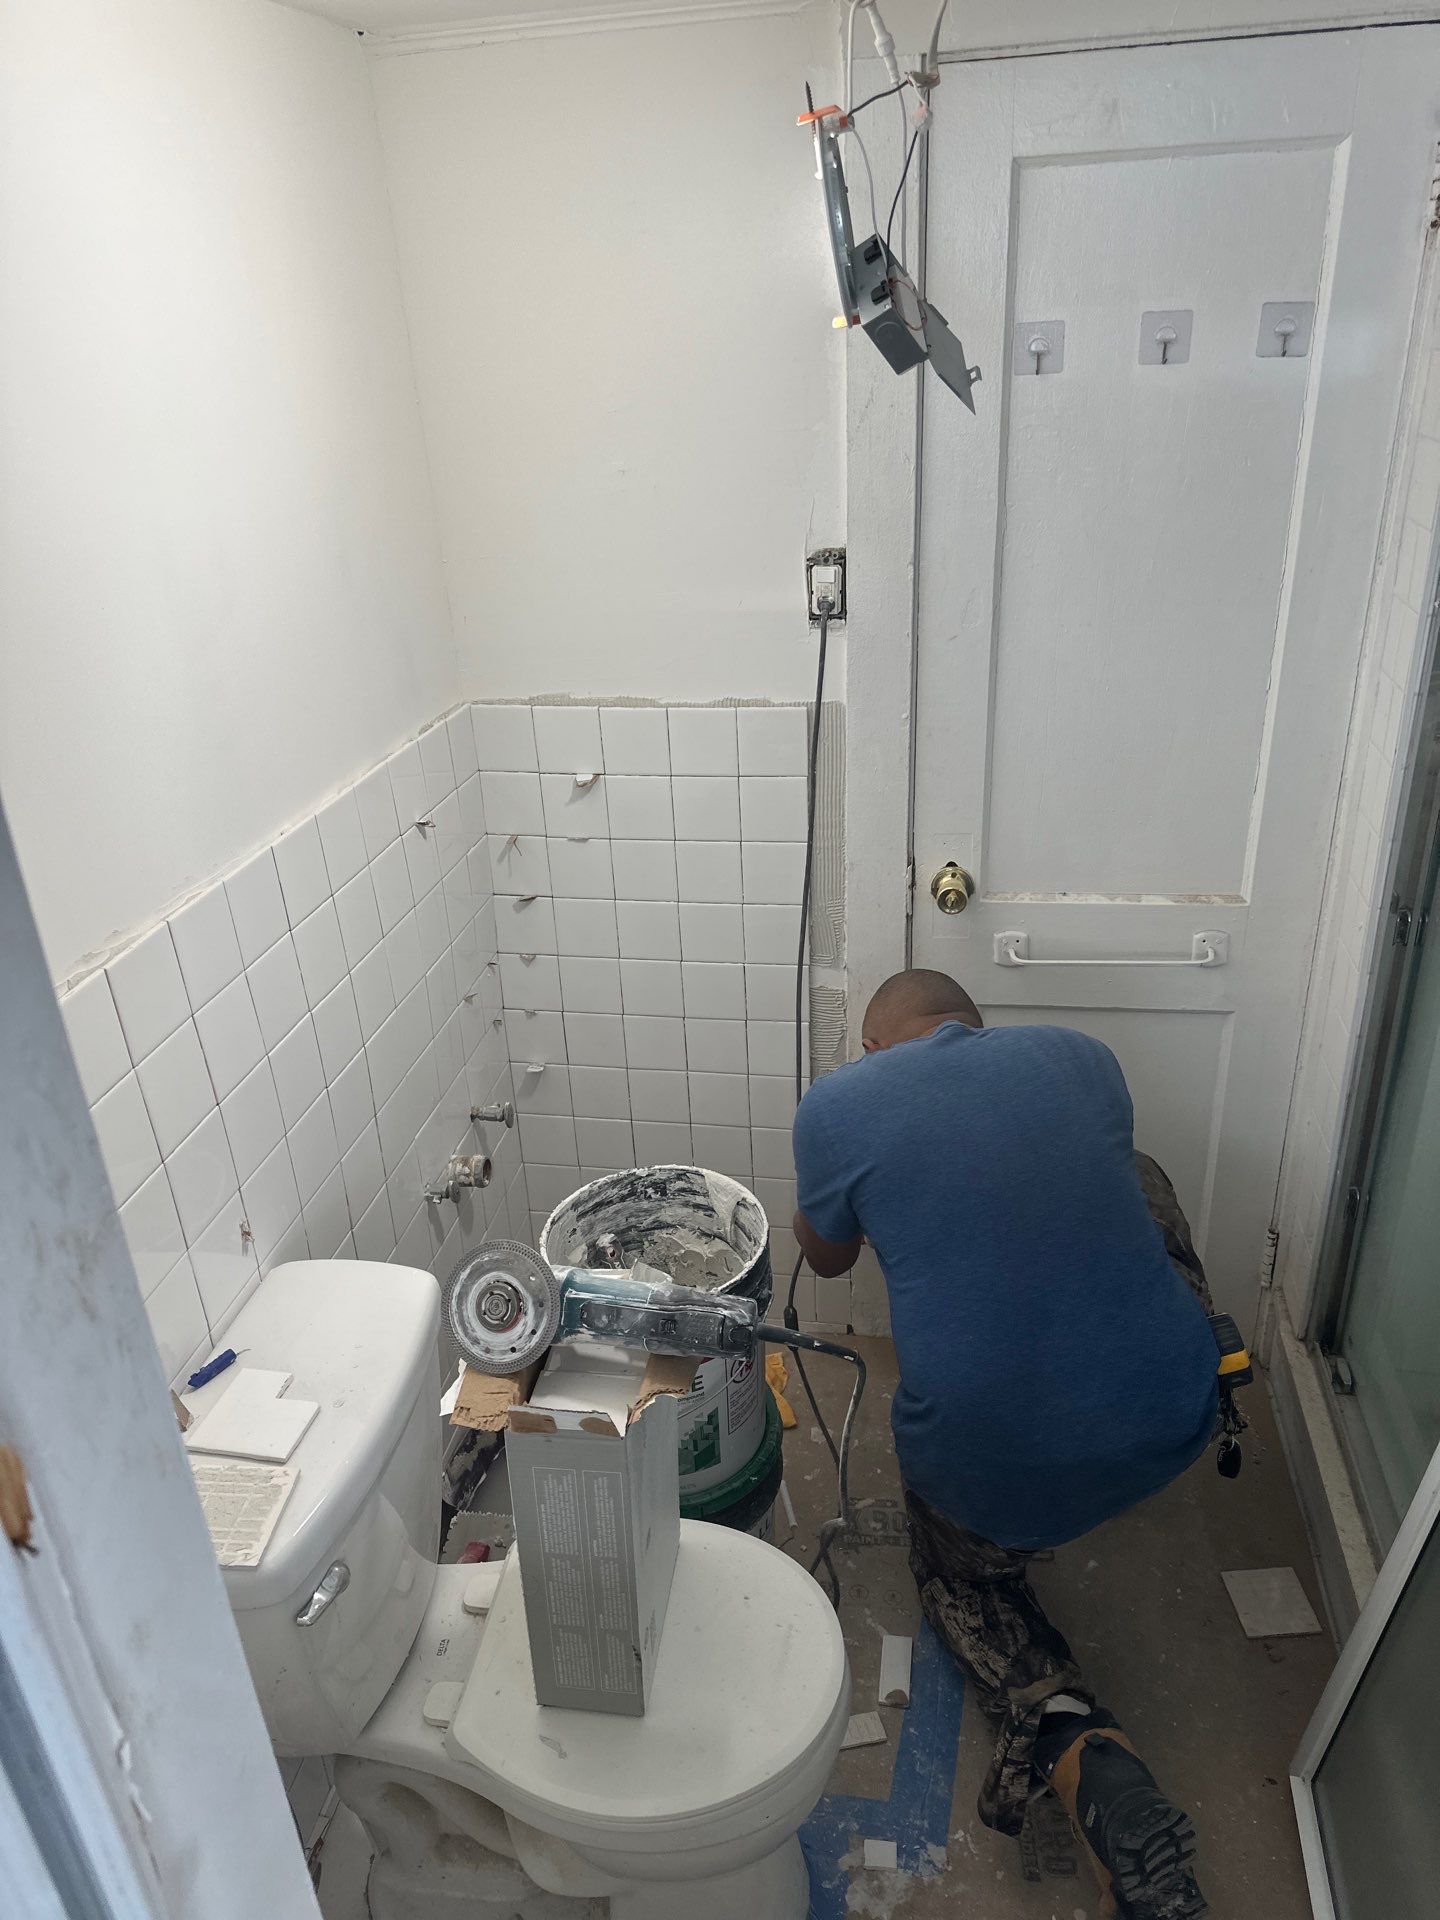
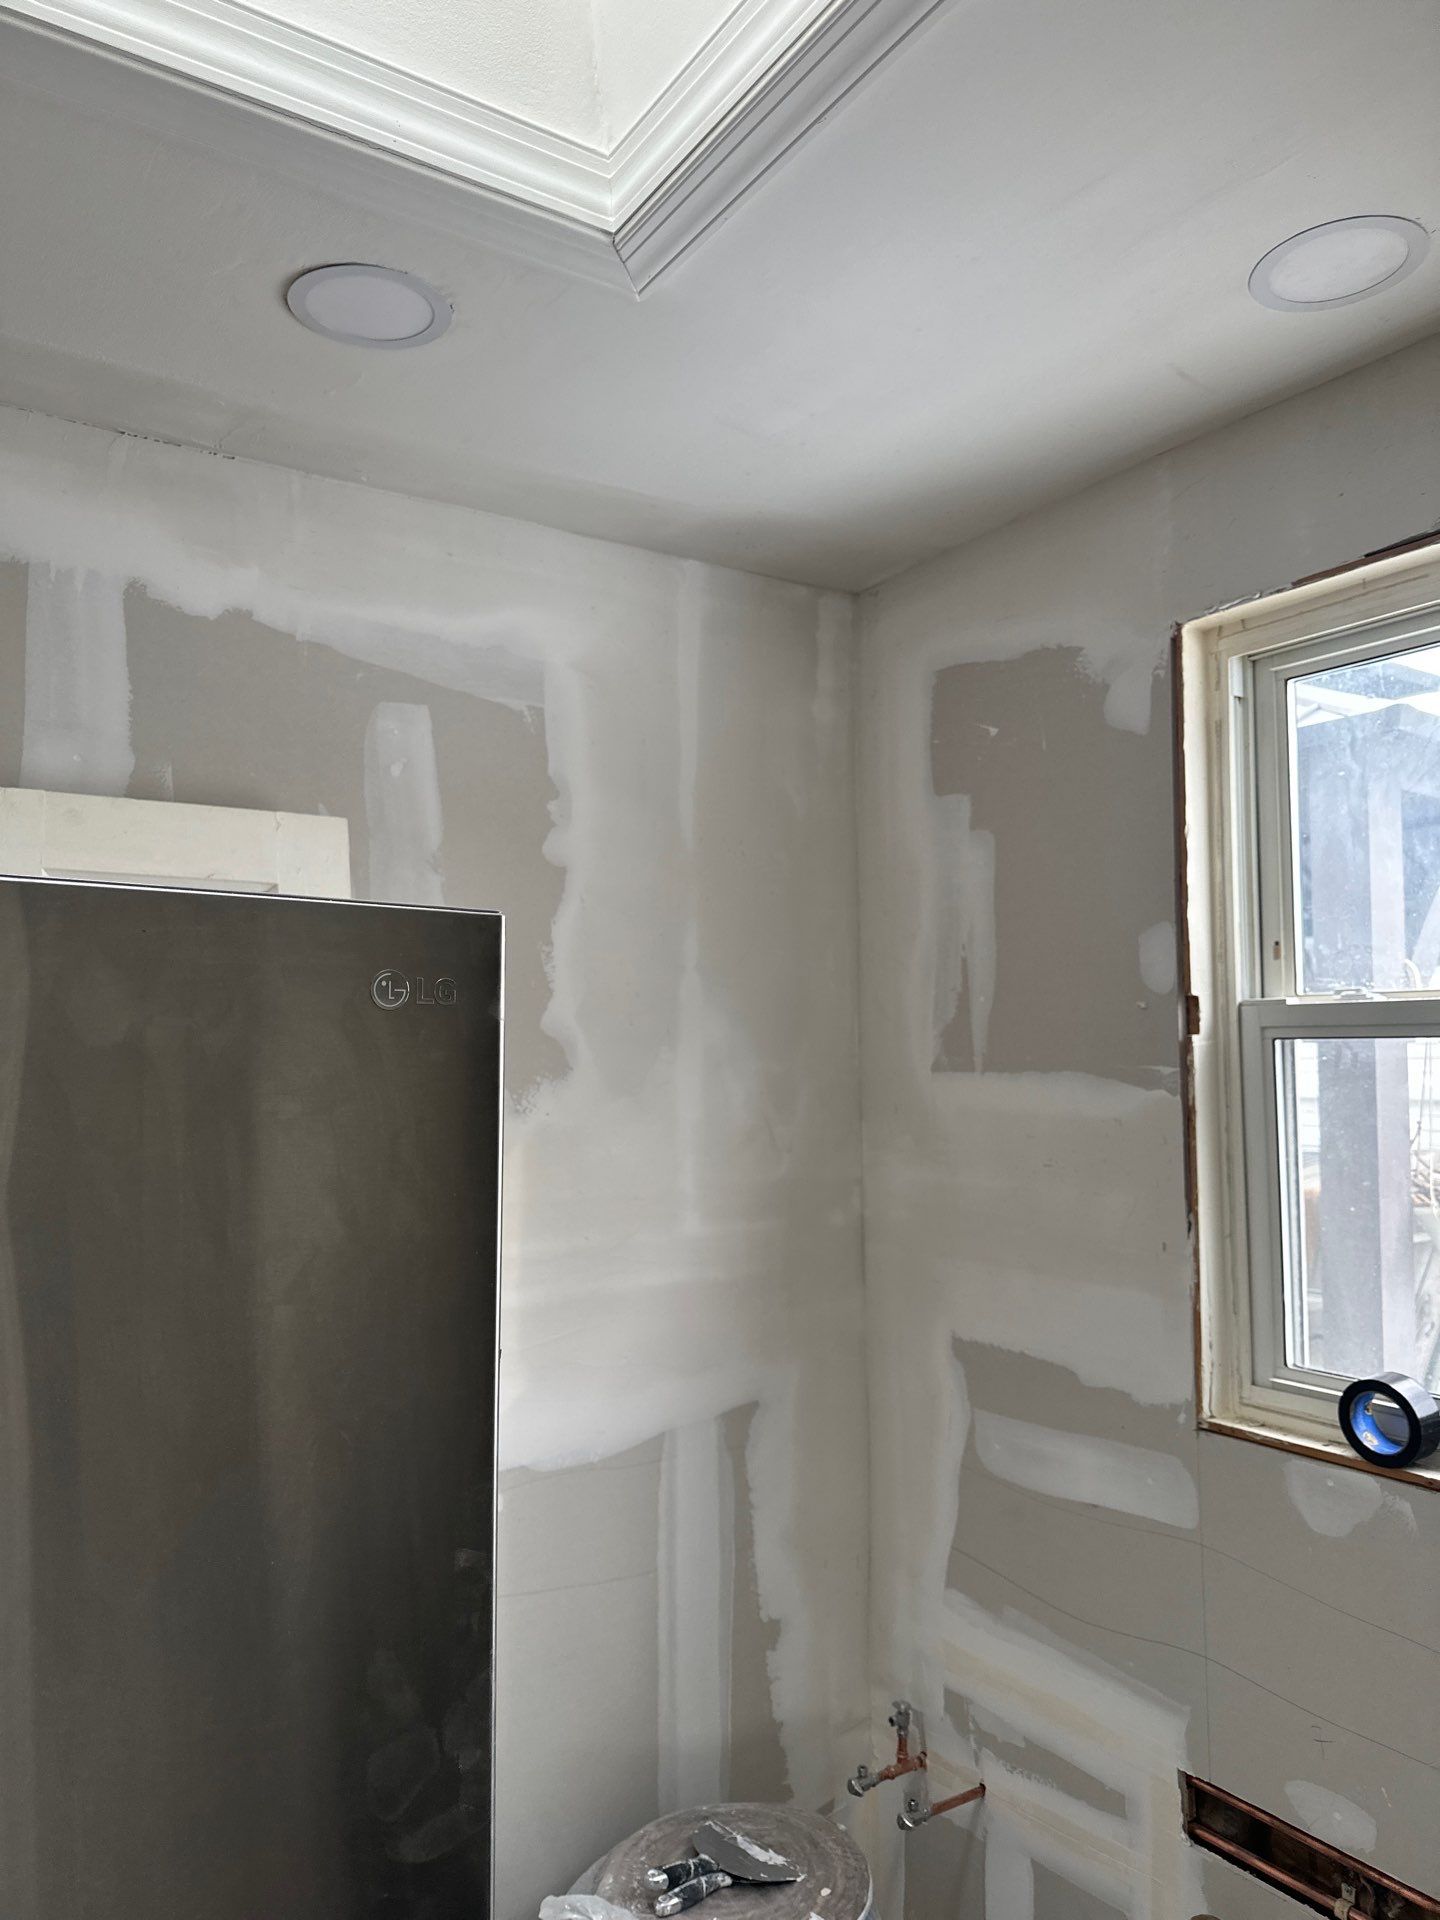
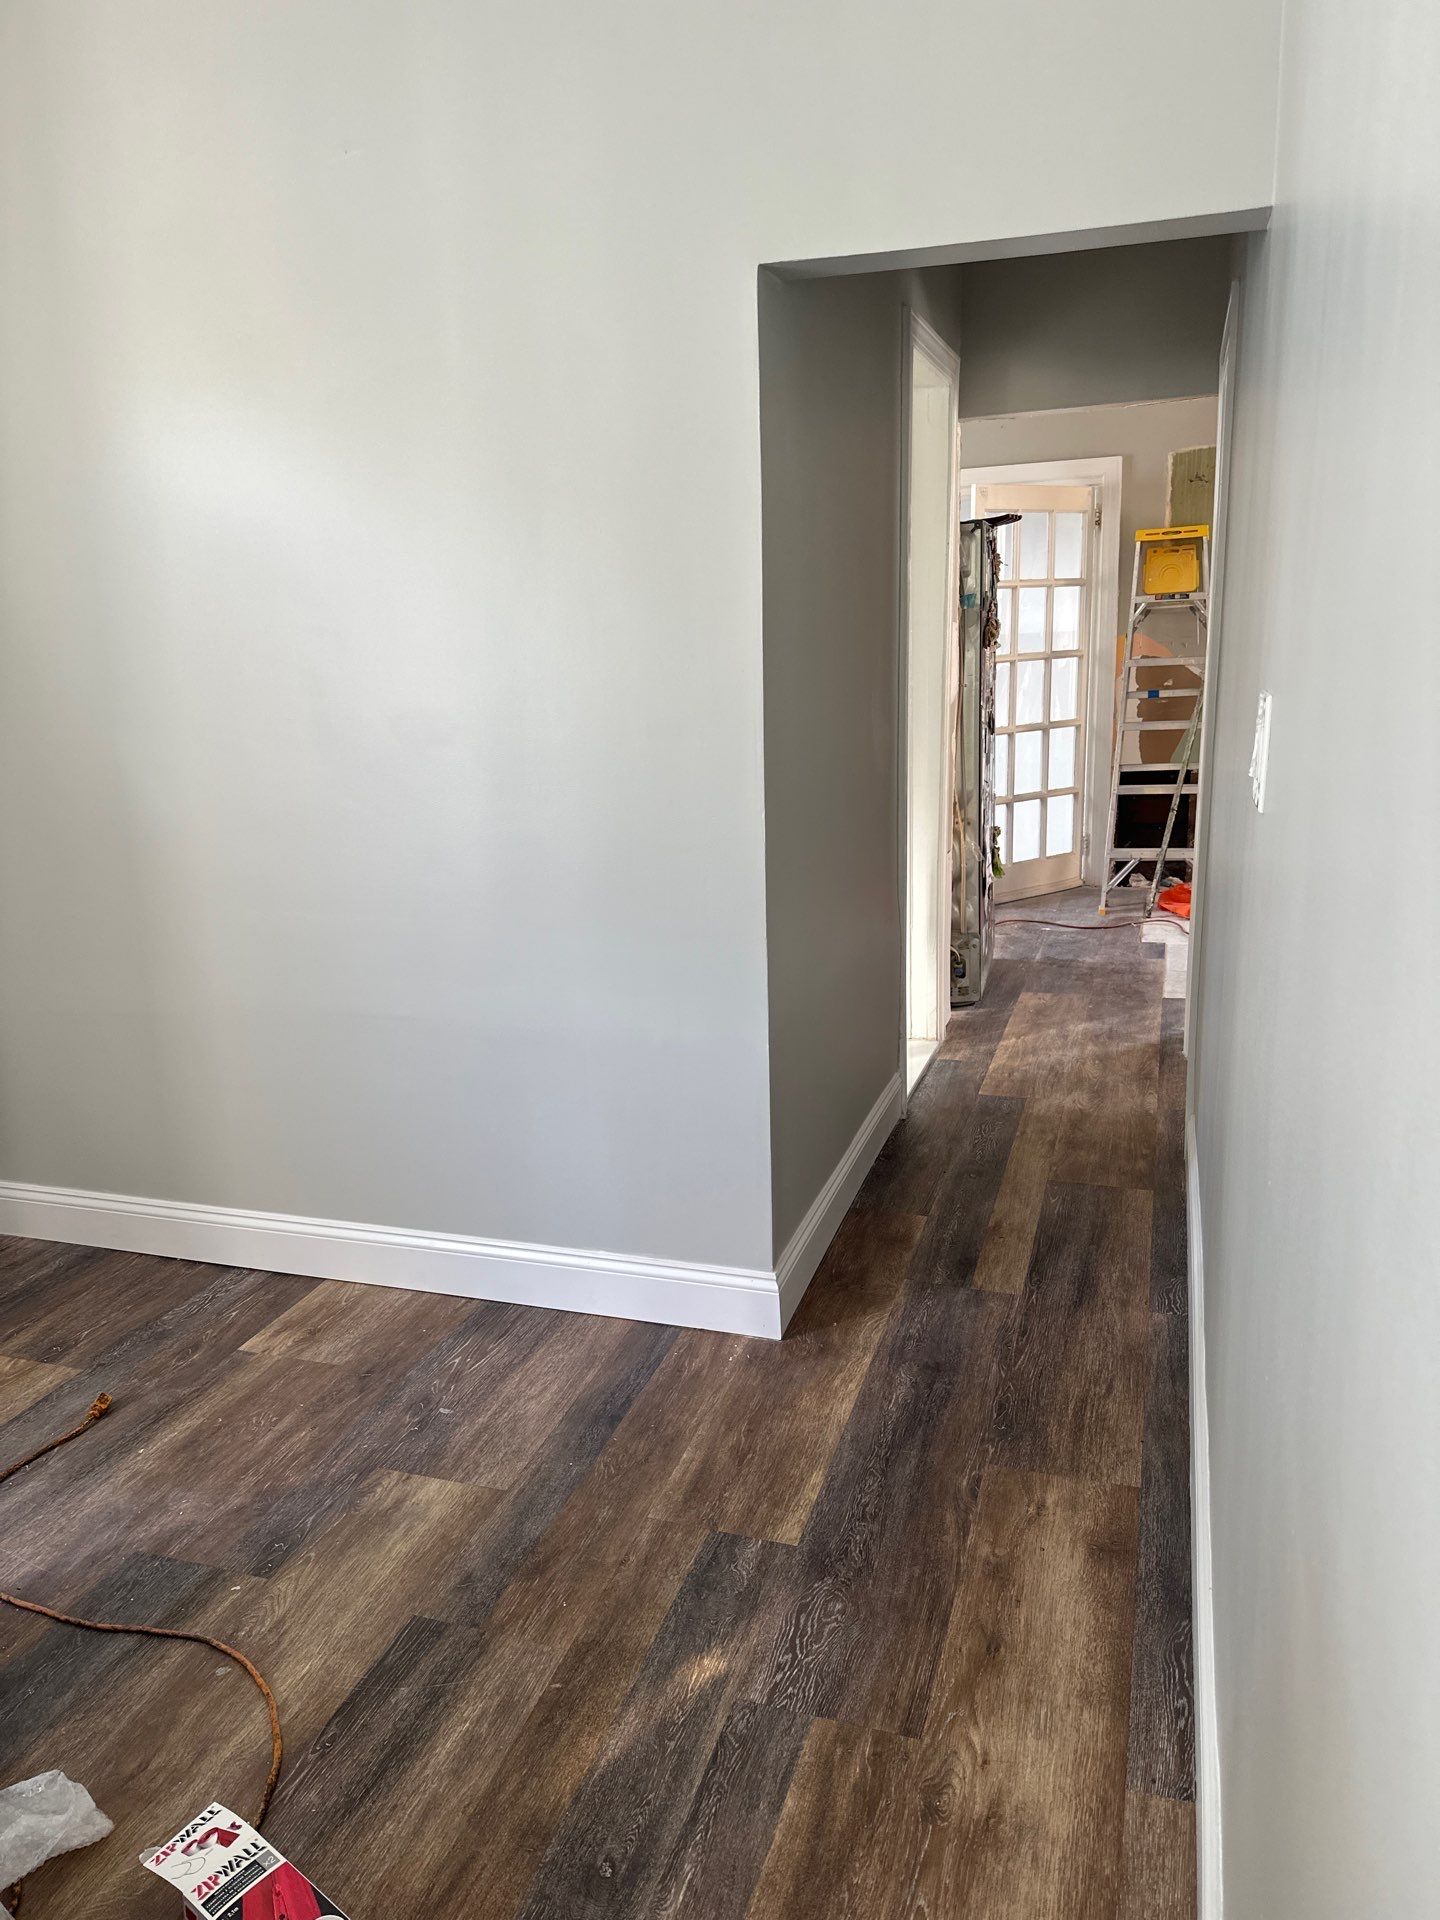
Another NYC family — a tired kitchen, a leaking wall, a bathroom mid-repair. Ten photos through demo, plumbing, framing, drywall and final finishes.

  1. Phase 1 · BeforeDated kitchen with oak cabinets before renovationDay 1 — original kitchen, water damage hidden behind the cabinets.
  2. Phase 2 · DemoKitchen cabinet pulled out during demoCabinets pulled to expose the wet wall behind the sink run.
  3. Phase 2 · DemoWall opened with tarp containment and debrisContainment up, wall opened, source of the leak isolated.
  4. Phase 3 · PlumbingTechnician repairing copper plumbing in wallNew copper lines run before anything gets closed back up.
  5. Phase 3 · Haul-OutCrew loading debris bags into work vanAll damaged material bagged and hauled out same day.
  6. Phase 4 · FramingNew metal ceiling framing installedNew metal framing set for the rebuilt ceiling and soffits.
  7. Phase 4 · BathTechnician working on bathroom tileBathroom prepped — tile cut back and new substrate installed.
  8. Phase 5 · DrywallNewly taped and finished drywall with recessed lightsDrywall hung, taped and skim-coated. Recessed lights and crown back in.
  9. Phase 6 · FlooringNew luxury vinyl plank flooring installed in bedroomNew LVP floors going down through the bedrooms.
  10. Phase 7 · FinalFinished hallway with fresh paint and new floorsFinal walk-through — fresh paint, clean trim, family back home.
1 / 10
Project 03 · Family Kitchen Rebuild

From cluttered chaos to a bright new kitchen.

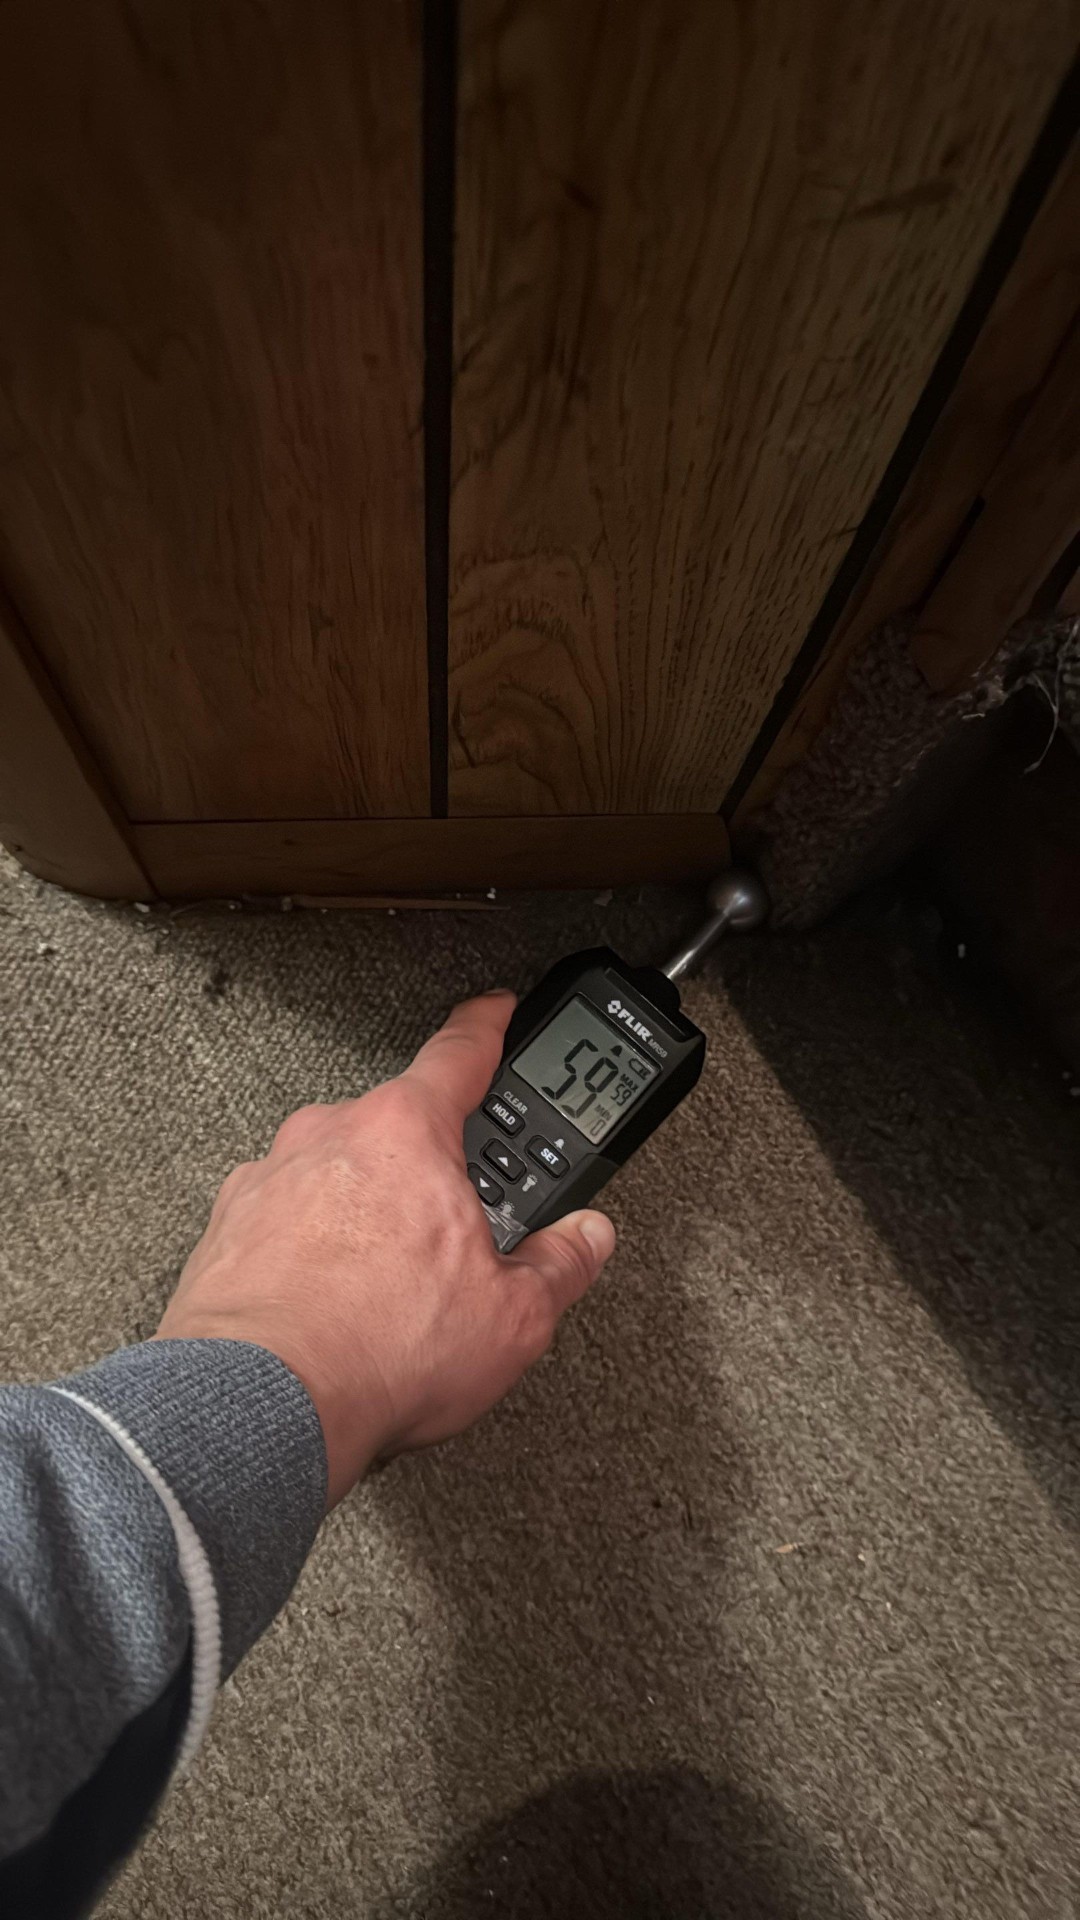
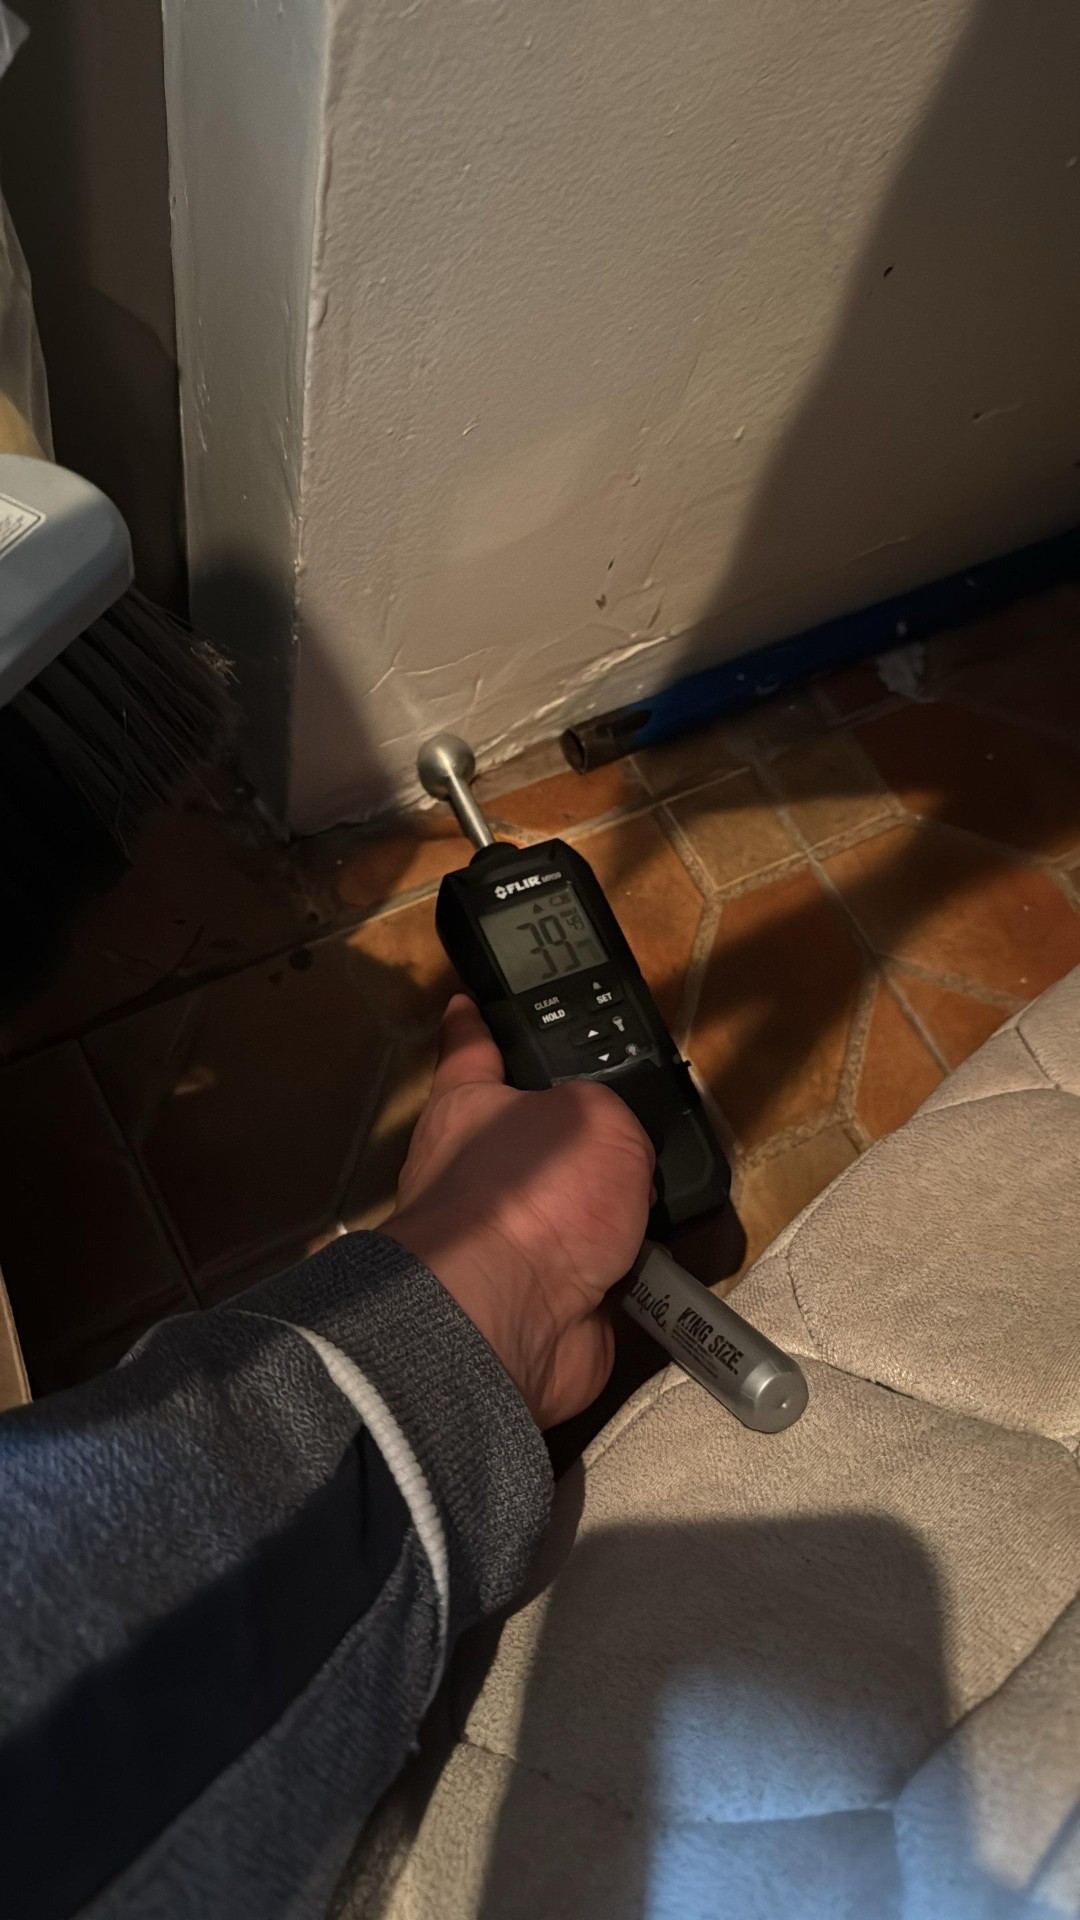
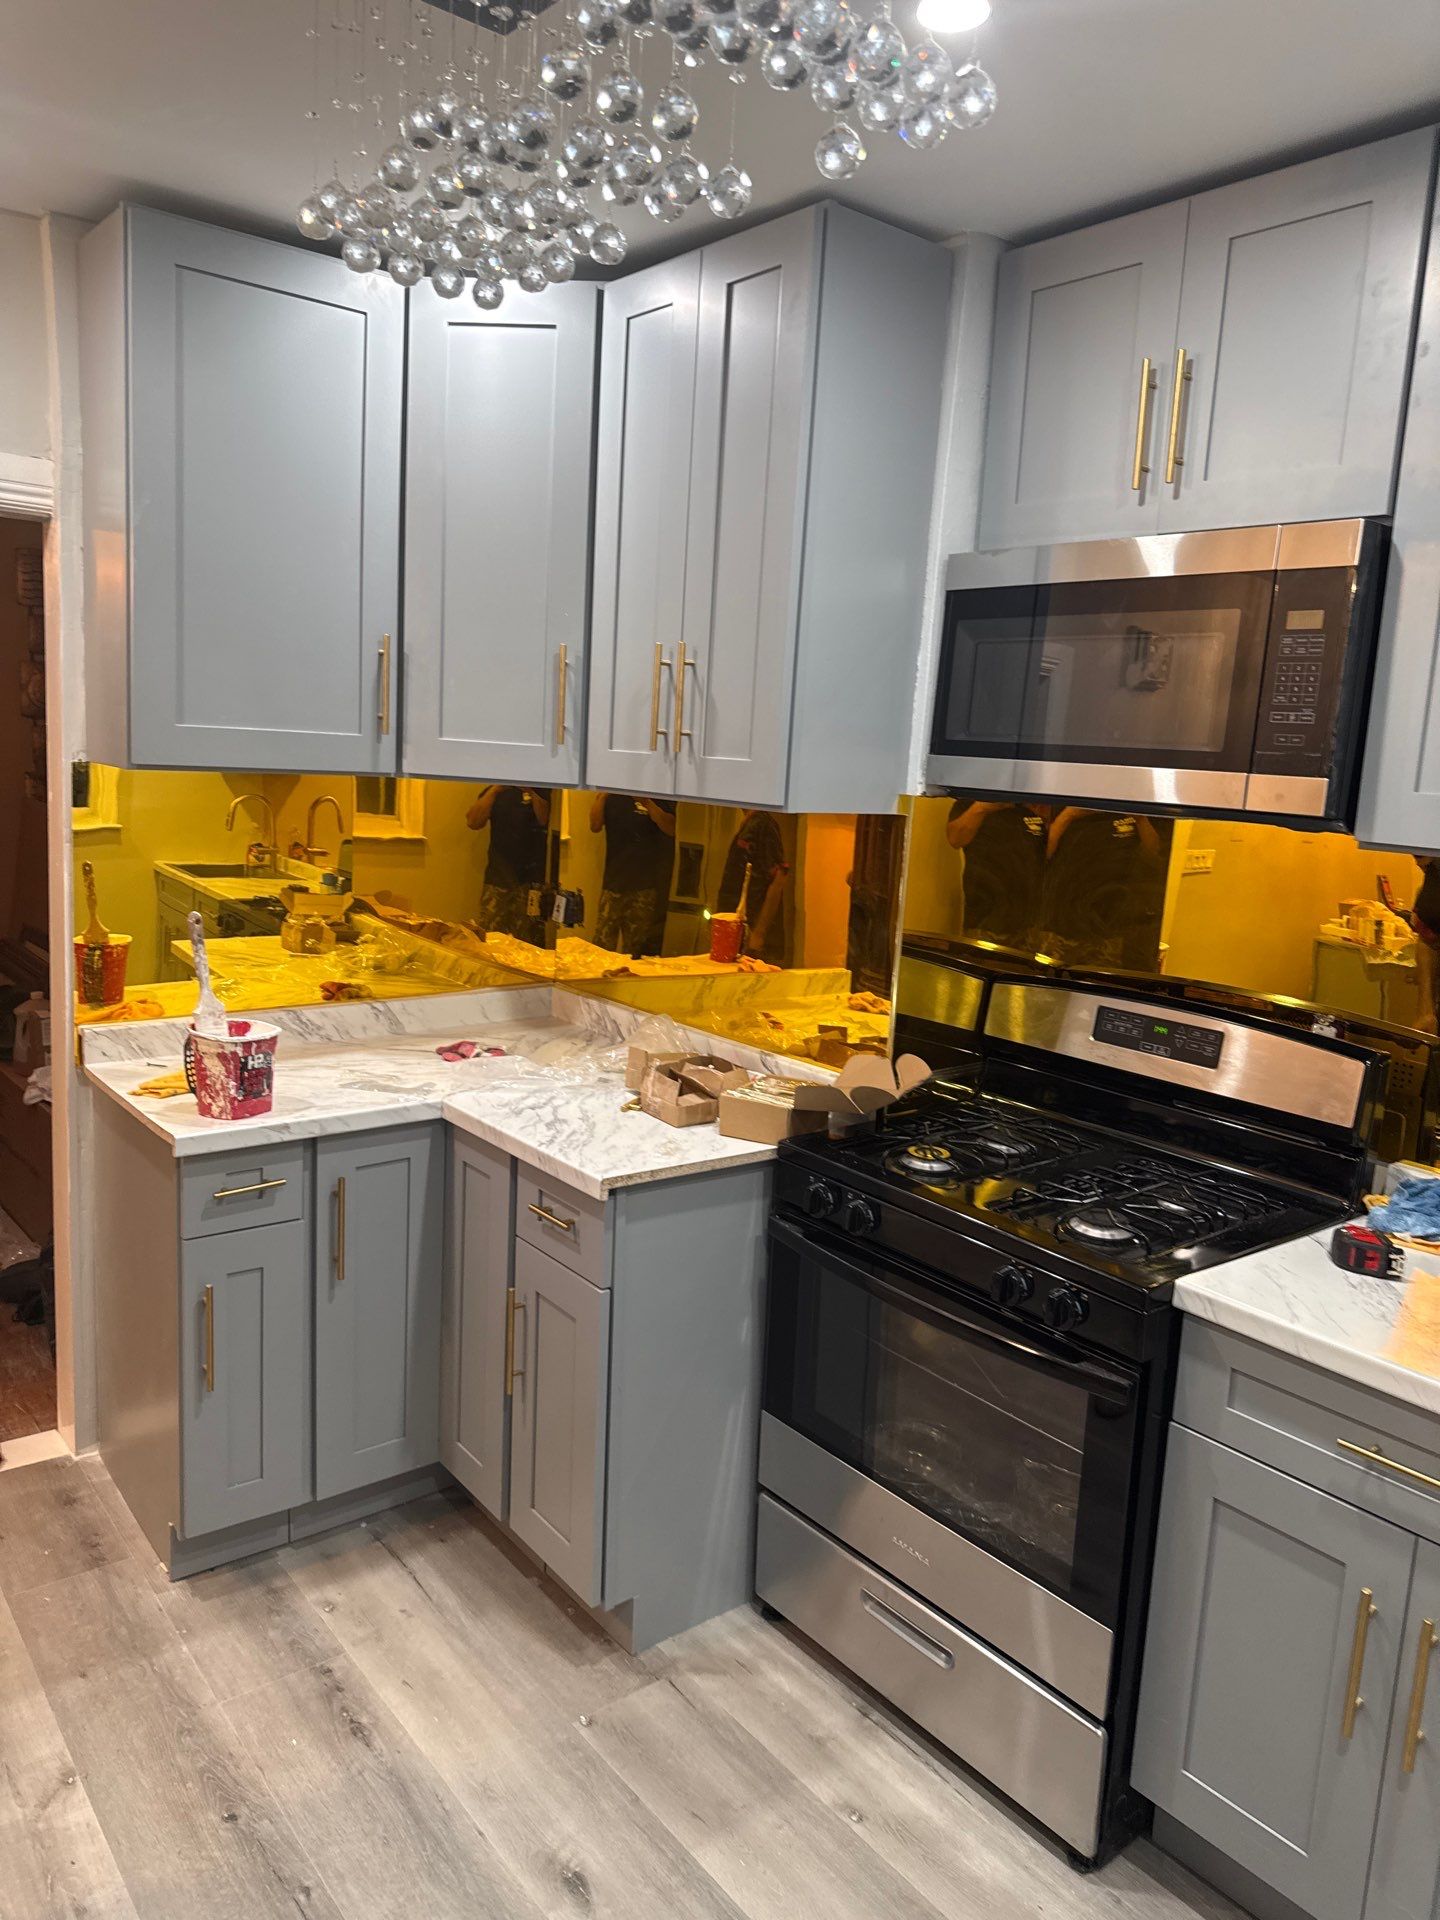
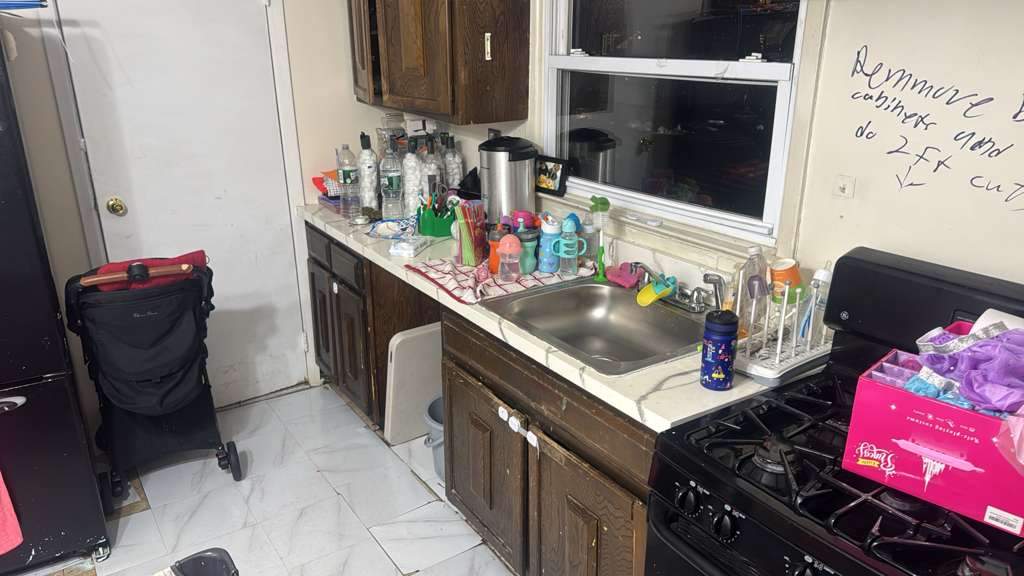
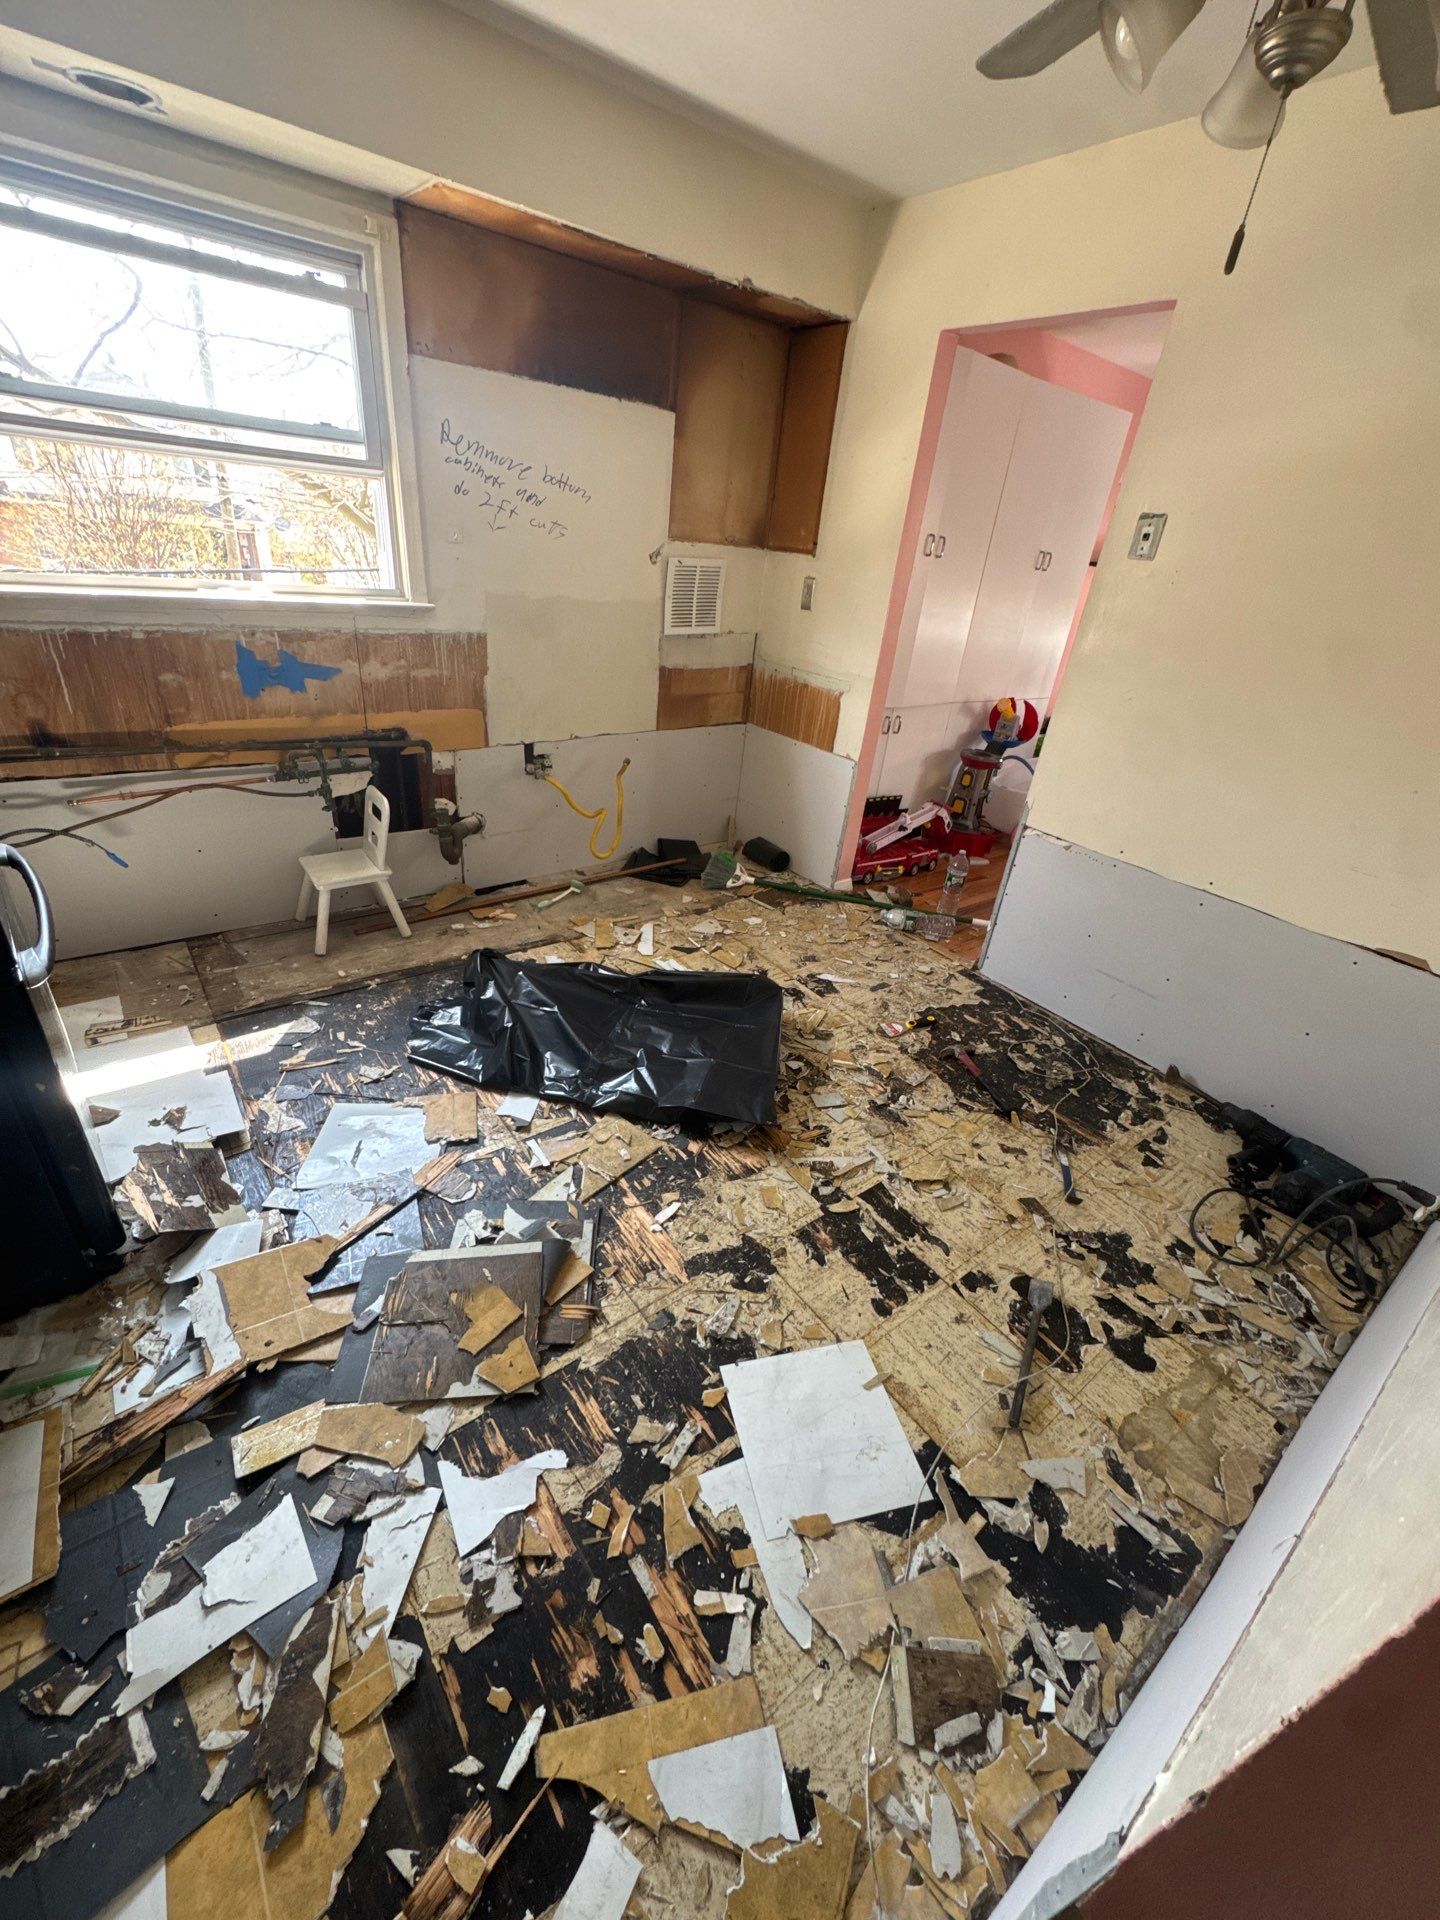
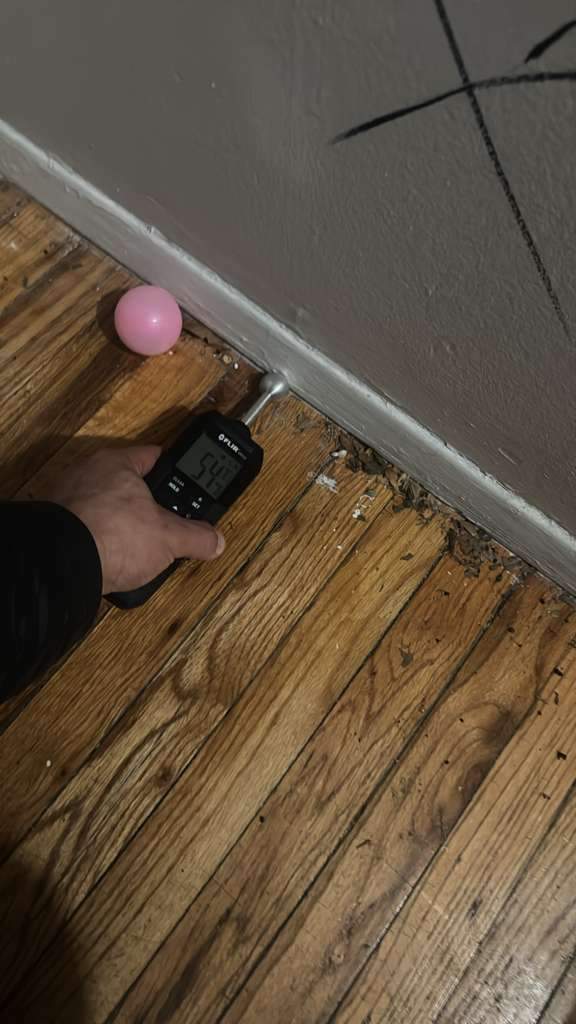
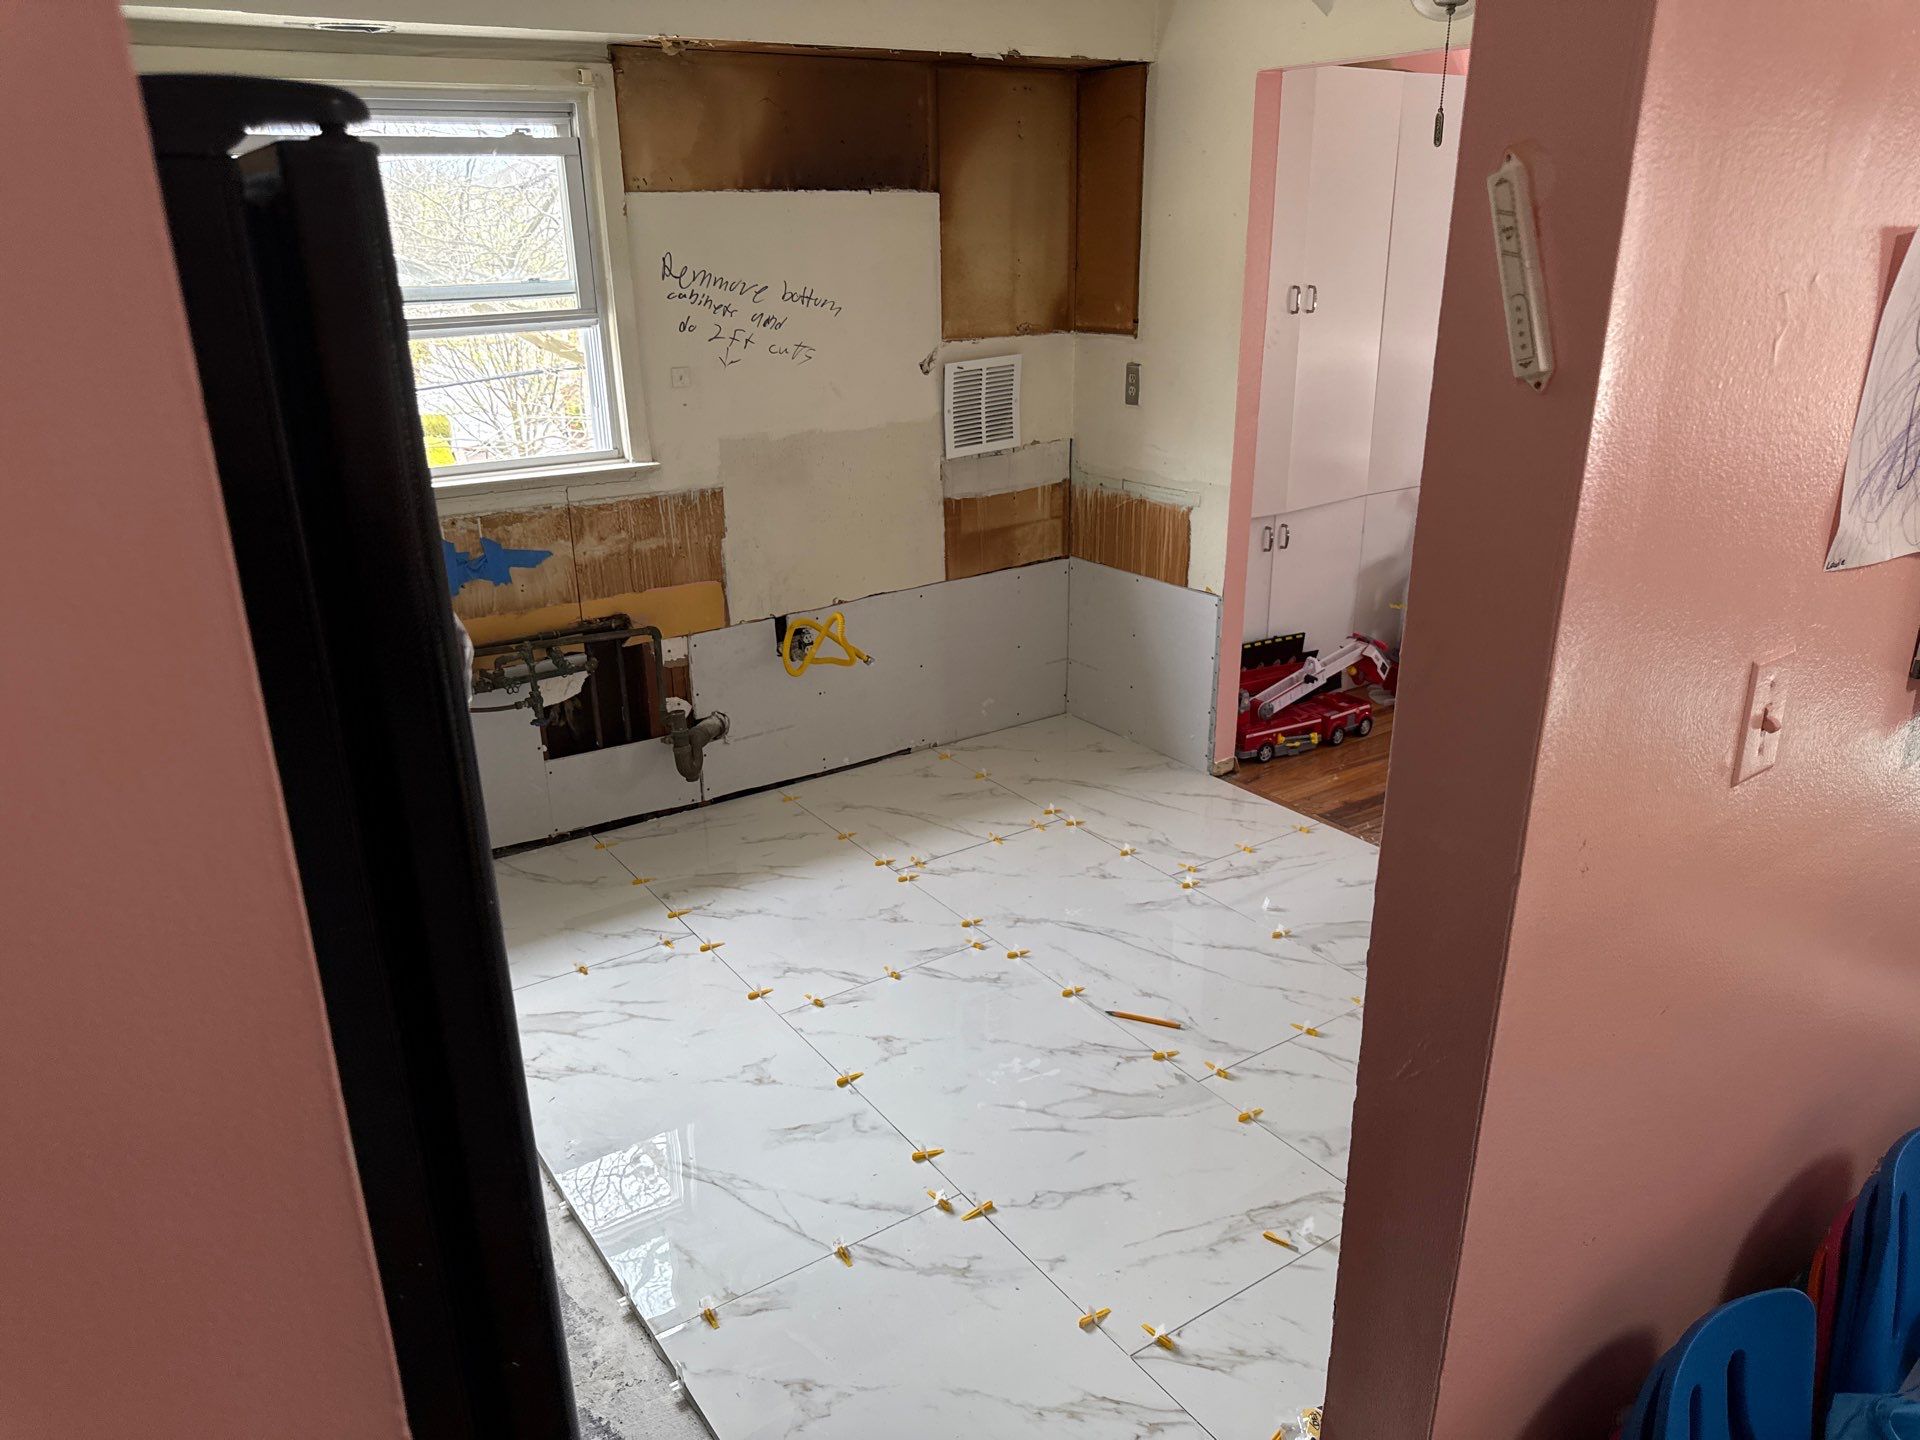
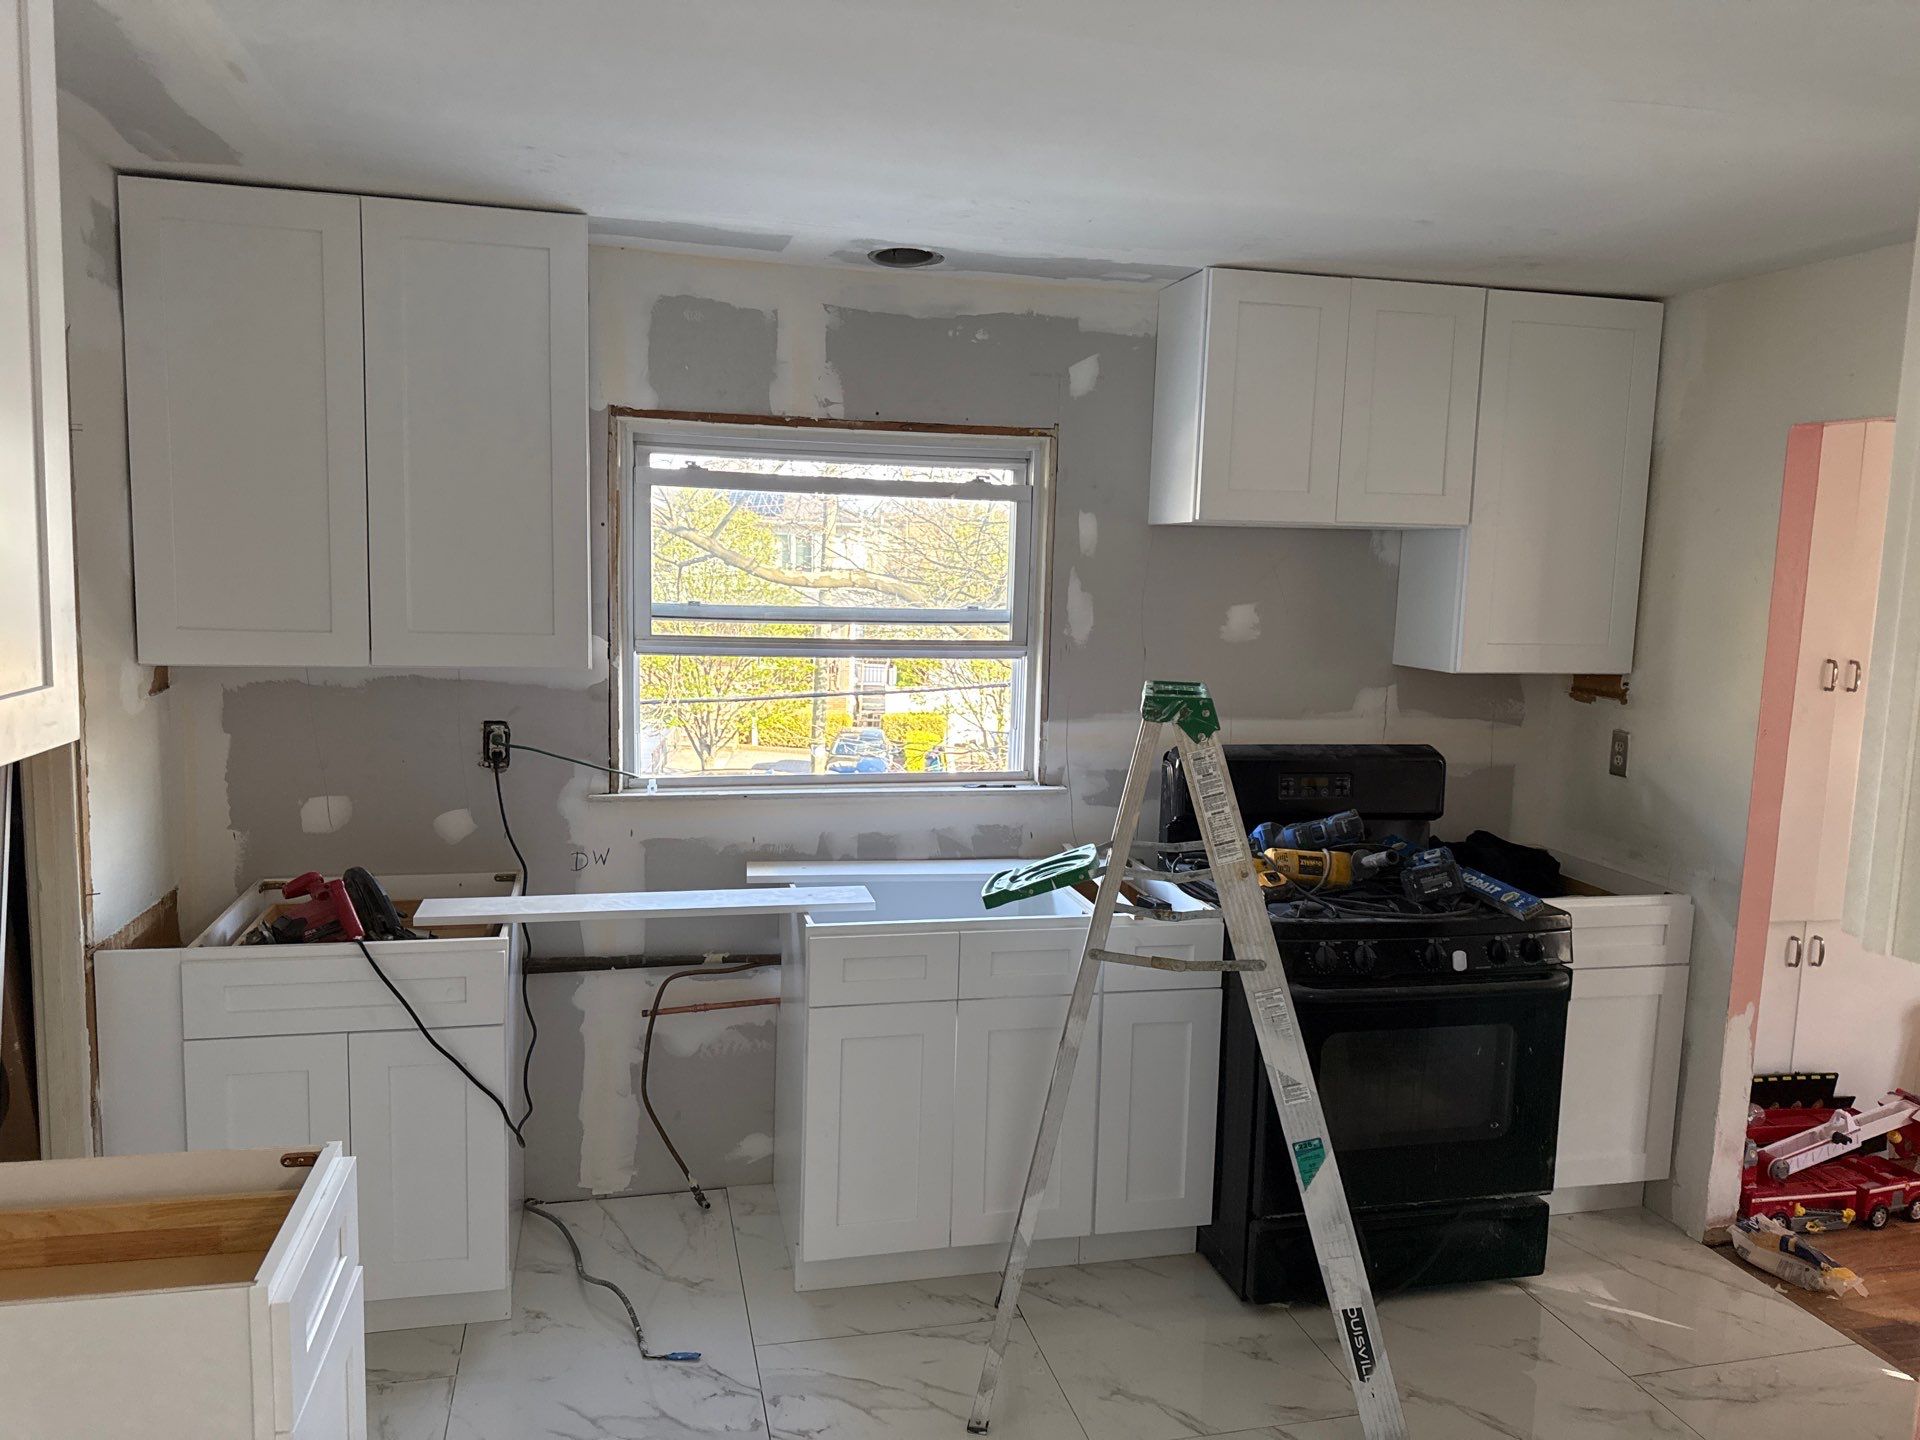
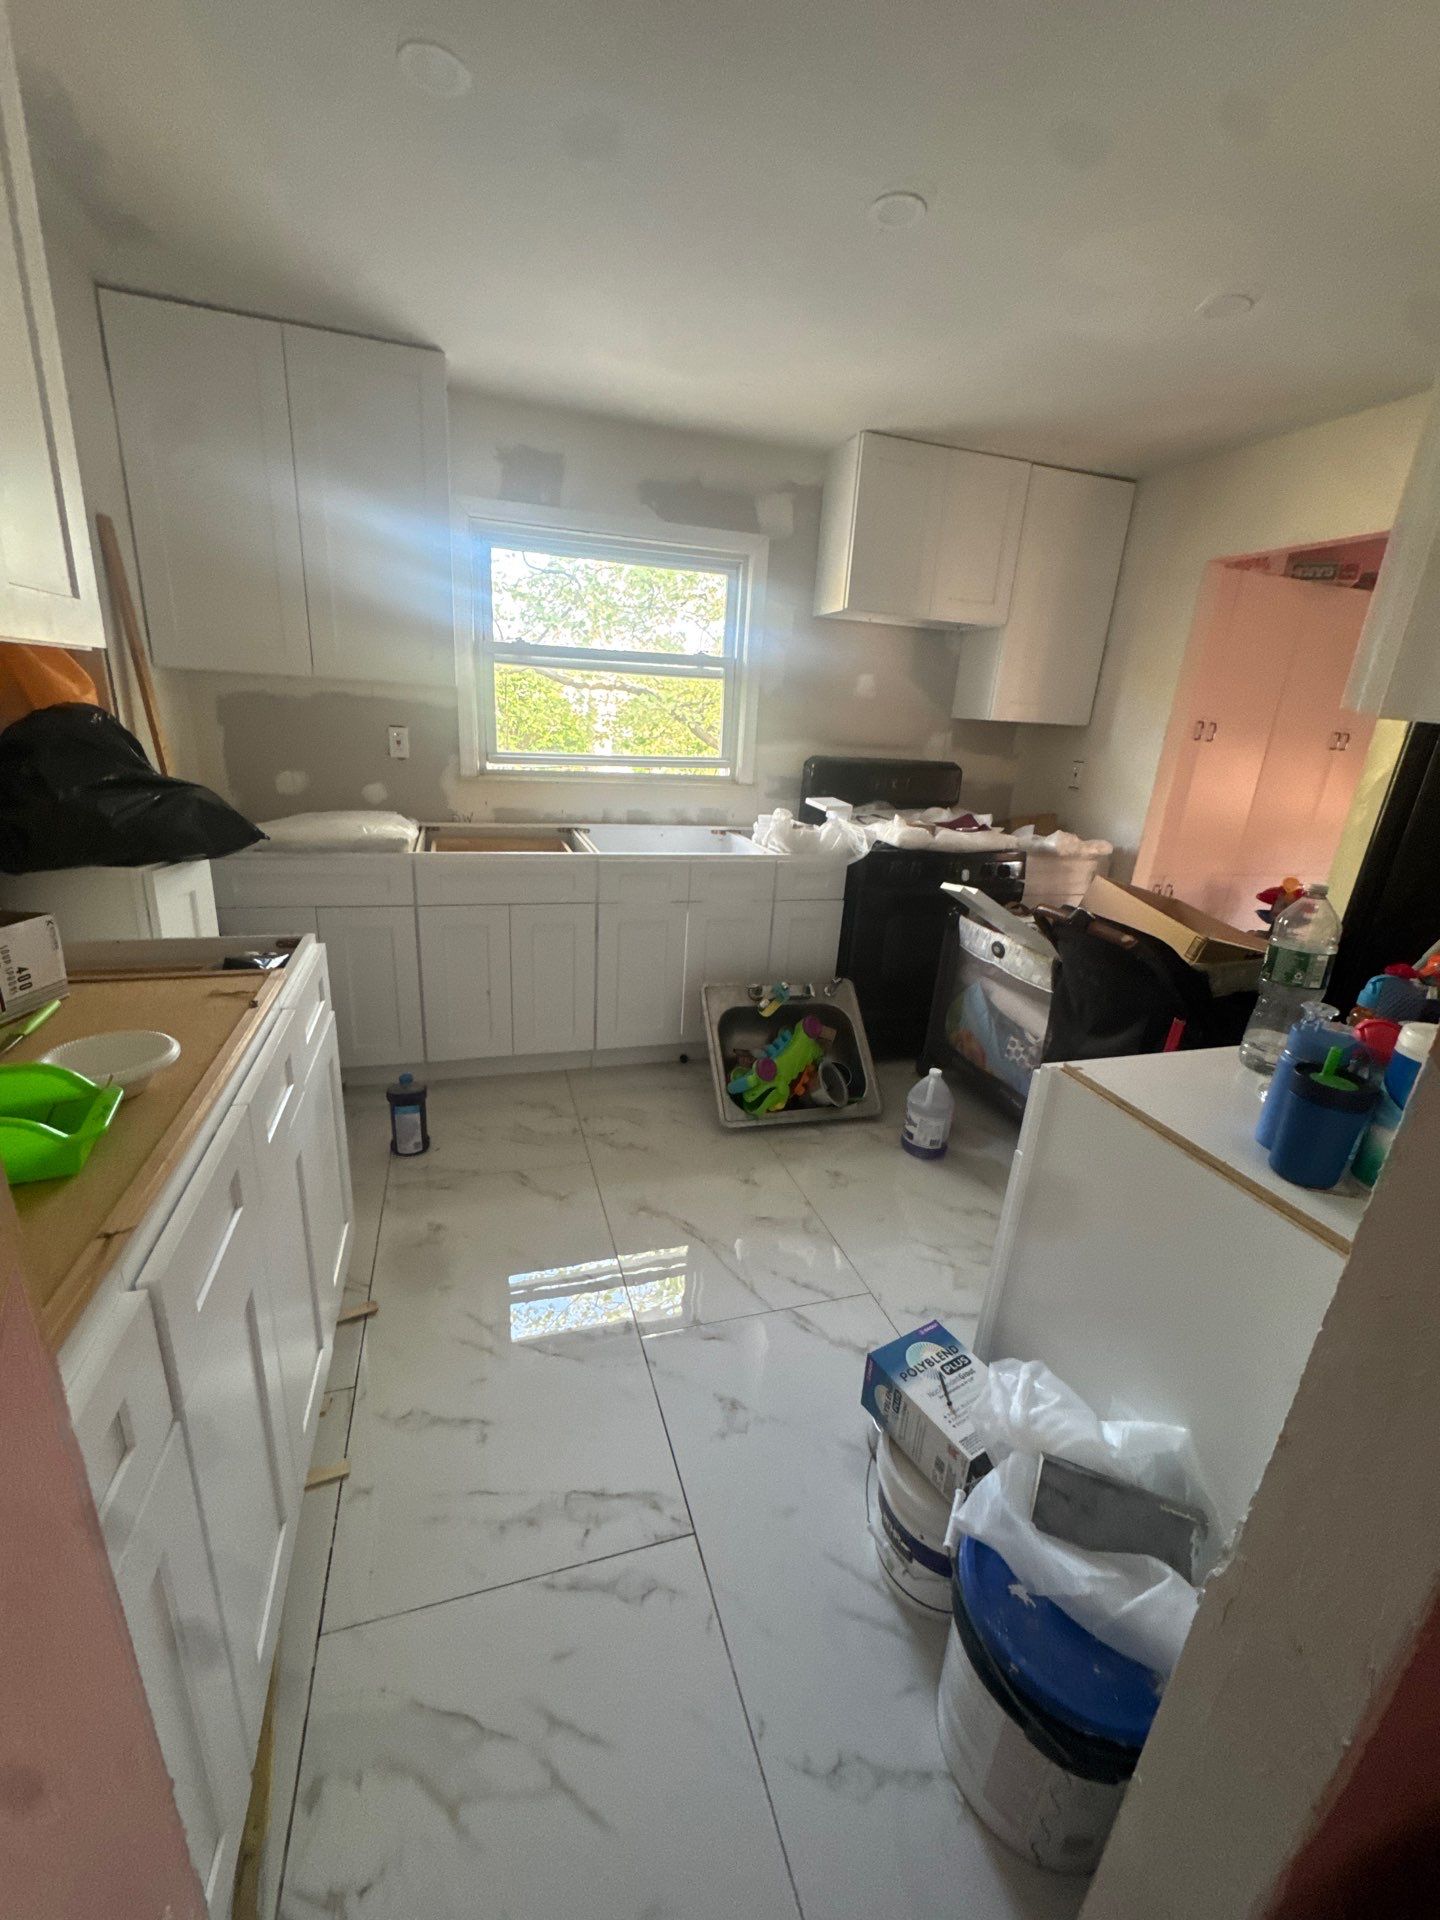
A young family's kitchen — water damage behind dated cabinets, kids' toys everywhere. Seven photos from the first walk-through to a finished, marble-floored space.

  1. Phase 1 · BeforeCluttered family kitchen with dated dark cabinets before renovationDay 1 — original kitchen, dated cabinets and damaged walls behind the sink.
  2. Phase 2 · DemoKitchen stripped down to subfloor with debrisCabinets and old flooring pulled — subfloor and walls exposed for assessment.
  3. Phase 3 · CleanStainless utility sink for equipment cleaning on siteOn-site equipment wash — tools sanitized between rooms to protect the family.
  4. Phase 3 · DryMoisture meter reading on hardwood floor near baseboardMoisture meter on the adjoining floor — verified dry before closing anything up.
  5. Phase 4 · TileNew marble-look porcelain tile being laid with leveling clipsNew marble-look porcelain tile laid with leveling system for a flat finish.
  6. Phase 5 · CabinetsNew white shaker cabinets installed, drywall patchedFresh drywall, new white shaker cabinets going in around the window wall.
  7. Phase 6 · FinalNearly finished bright white kitchen with marble floorFinal walk-through — bright white kitchen, marble floor, ready for the family.
1 / 7

Your home could be next on this page —
for all the right reasons.

Free on-site estimate. Insurance-ready documentation. Real humans, 24/7.